It’s hard for me to believe that it’s late October — especially since it has been 95 degrees here all week — but somehow it is almost Halloween. I recently went on a baking binge and made several different kinds of Halloween cookies that I am going to share with you, but I wanted to post the gluten-free ones first, for those of you who avoid wheat for any reason.
The recipe I used calls for GF all-purpose flour, but I couldn’t find any here… so I made my own. I’ll put the recipe for that below as well, in case you also have trouble finding it, but it obviously is easier (and probably much cheaper) to buy pre-mixed.
Despite the fact that these contain things like almond flour, tapioca starch, and xantham gum, they taste very similar to regular, gluten-filled sugar cookies. However, the flours are a bit grittier than wheat flour, so you should definitely keep the dough in the refrigerator overnight if possible — I think that helps everything meld.
The cookies don’t seem to be quite as smooth on top as regular sugar cookies, but it’s not a big deal and you can always cover it up with decoration. The easiest way to decorate them is to stir together a lot of powdered sugar and a tiny bit of milk, spread that on top of the cookies and then cover them in sprinkles.
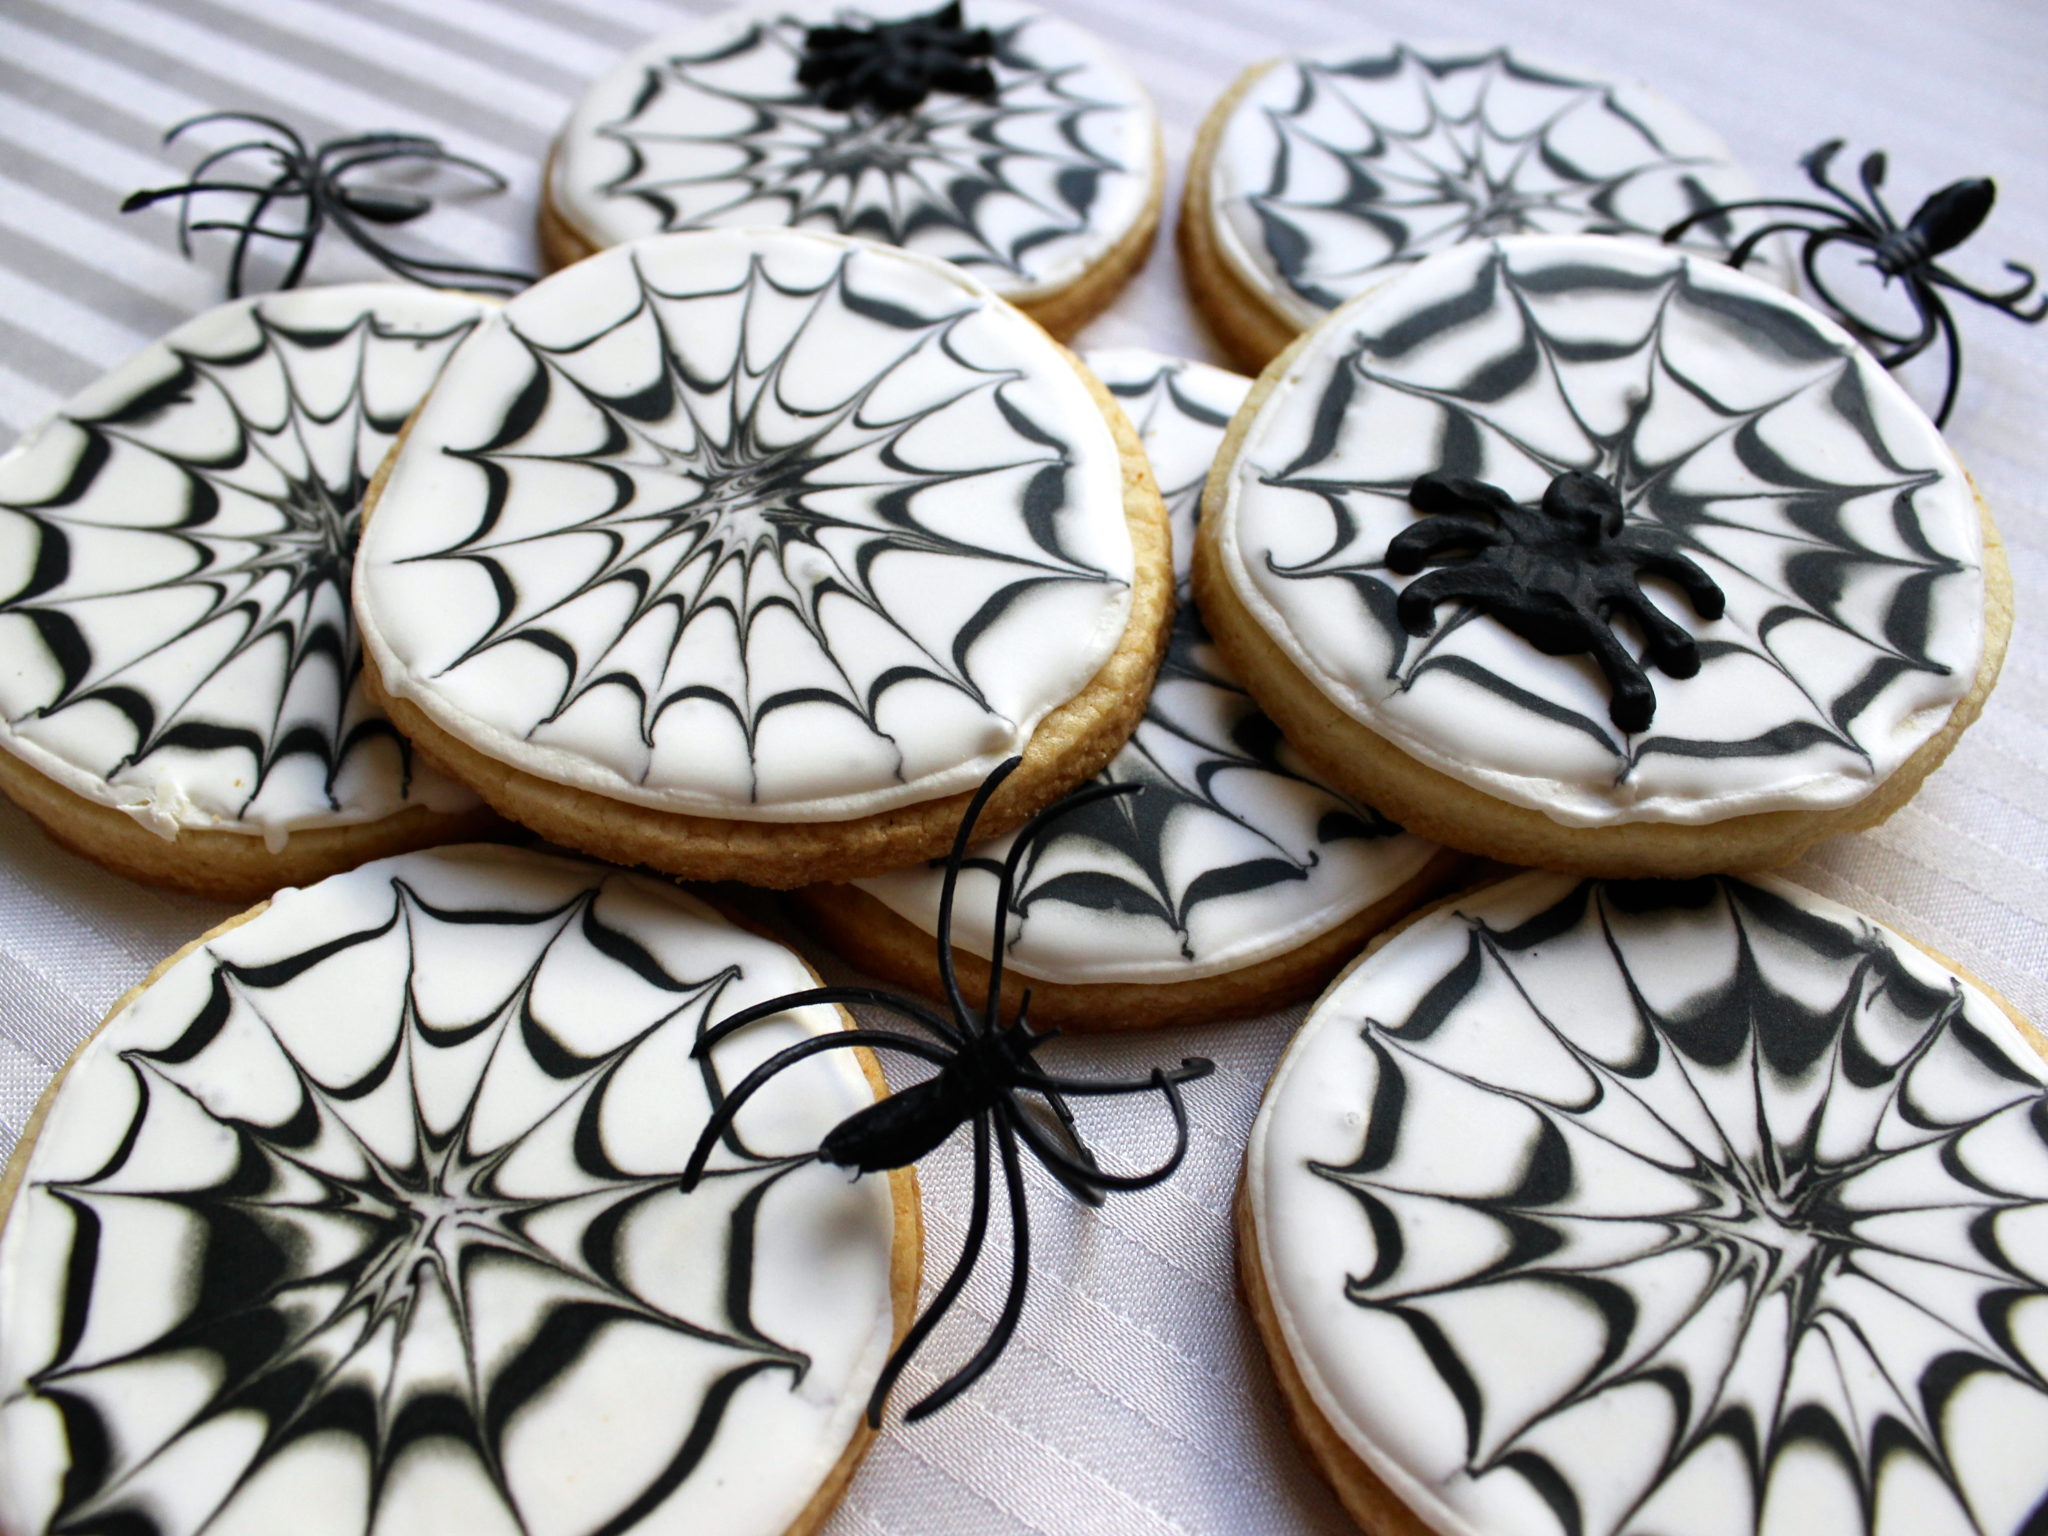
However, I got rid of all of my sprinkles before we moved (bad decision, I know), and I wanted to do something extra Halloween-y, so I made some Mickey Mouse pumpkins and spiderwebs. I will explain how to do the Mickey pumpkins in another post, but let me warn you: they took FOREVER. The spider webs are MUCH easier, and I think they look pretty awesome.
Because I was decorating these in the middle of the night like a crazy person, I didn’t take step-by-step photos of the spider web process. All you have to do is fill in the cookie with white frosting, draw a little bullseye in black, then take a toothpick and carefully drag it from the center outwards, moving around the circle until you get back to the beginning. However, I know that may be difficult to picture, so you can go to this post to see some photos of the toothpick-dragging process.
After the spiderwebs dried, I added little spiders on a few of the cookies, but not on all of them. The spiders I made only had 6 legs, because they were too little for 8, but you can obviously make your spiders as anatomically correct as you’d like.
The best thing about this design is that it doesn’t require a ton of artistic skill, and it doesn’t take nearly as long as some of the other designs. It also is pretty forgiving — I was running out of the thinned black frosting (because I was decorating several batches of cookies at once), so most of my bullseyes were not even remotely even, but even those cookies turned out really cool. Hope you like them!
Gluten-free roll-out sugar cookies (Recipe adapted from King Arthur Flour. Yield depends on what kind of cookie cutter you use, but it made 12 biscuit-sized circles, 6 Mickey mouses, and 10 tiny ghosts)
1 cup sugar
1/2 cup (8 tablespoons/115 grams) unsalted butter, set out on the counter for about an hour to get soft
1 large egg
1 1/2 teaspoons vanilla extract
1 3/4 cups all purpose gluten-free flour*
1/2 cup almond flour
1/2 teaspoon baking powder
1/2 teaspoon salt
1/2 teaspoon xantham gum (I think they’re probably find without this, but I used it so I’m not 100% sure)
Place the butter and sugar in the bowl of a stand mixer (or in a large mixing bowl, if using a hand-held electric mixer) and, using the paddle attachment, beat until light and fluffy. Add the egg and the vanilla and beat to combine, then scrape down the sides of the bowl and the paddle with a spatula and beat again.
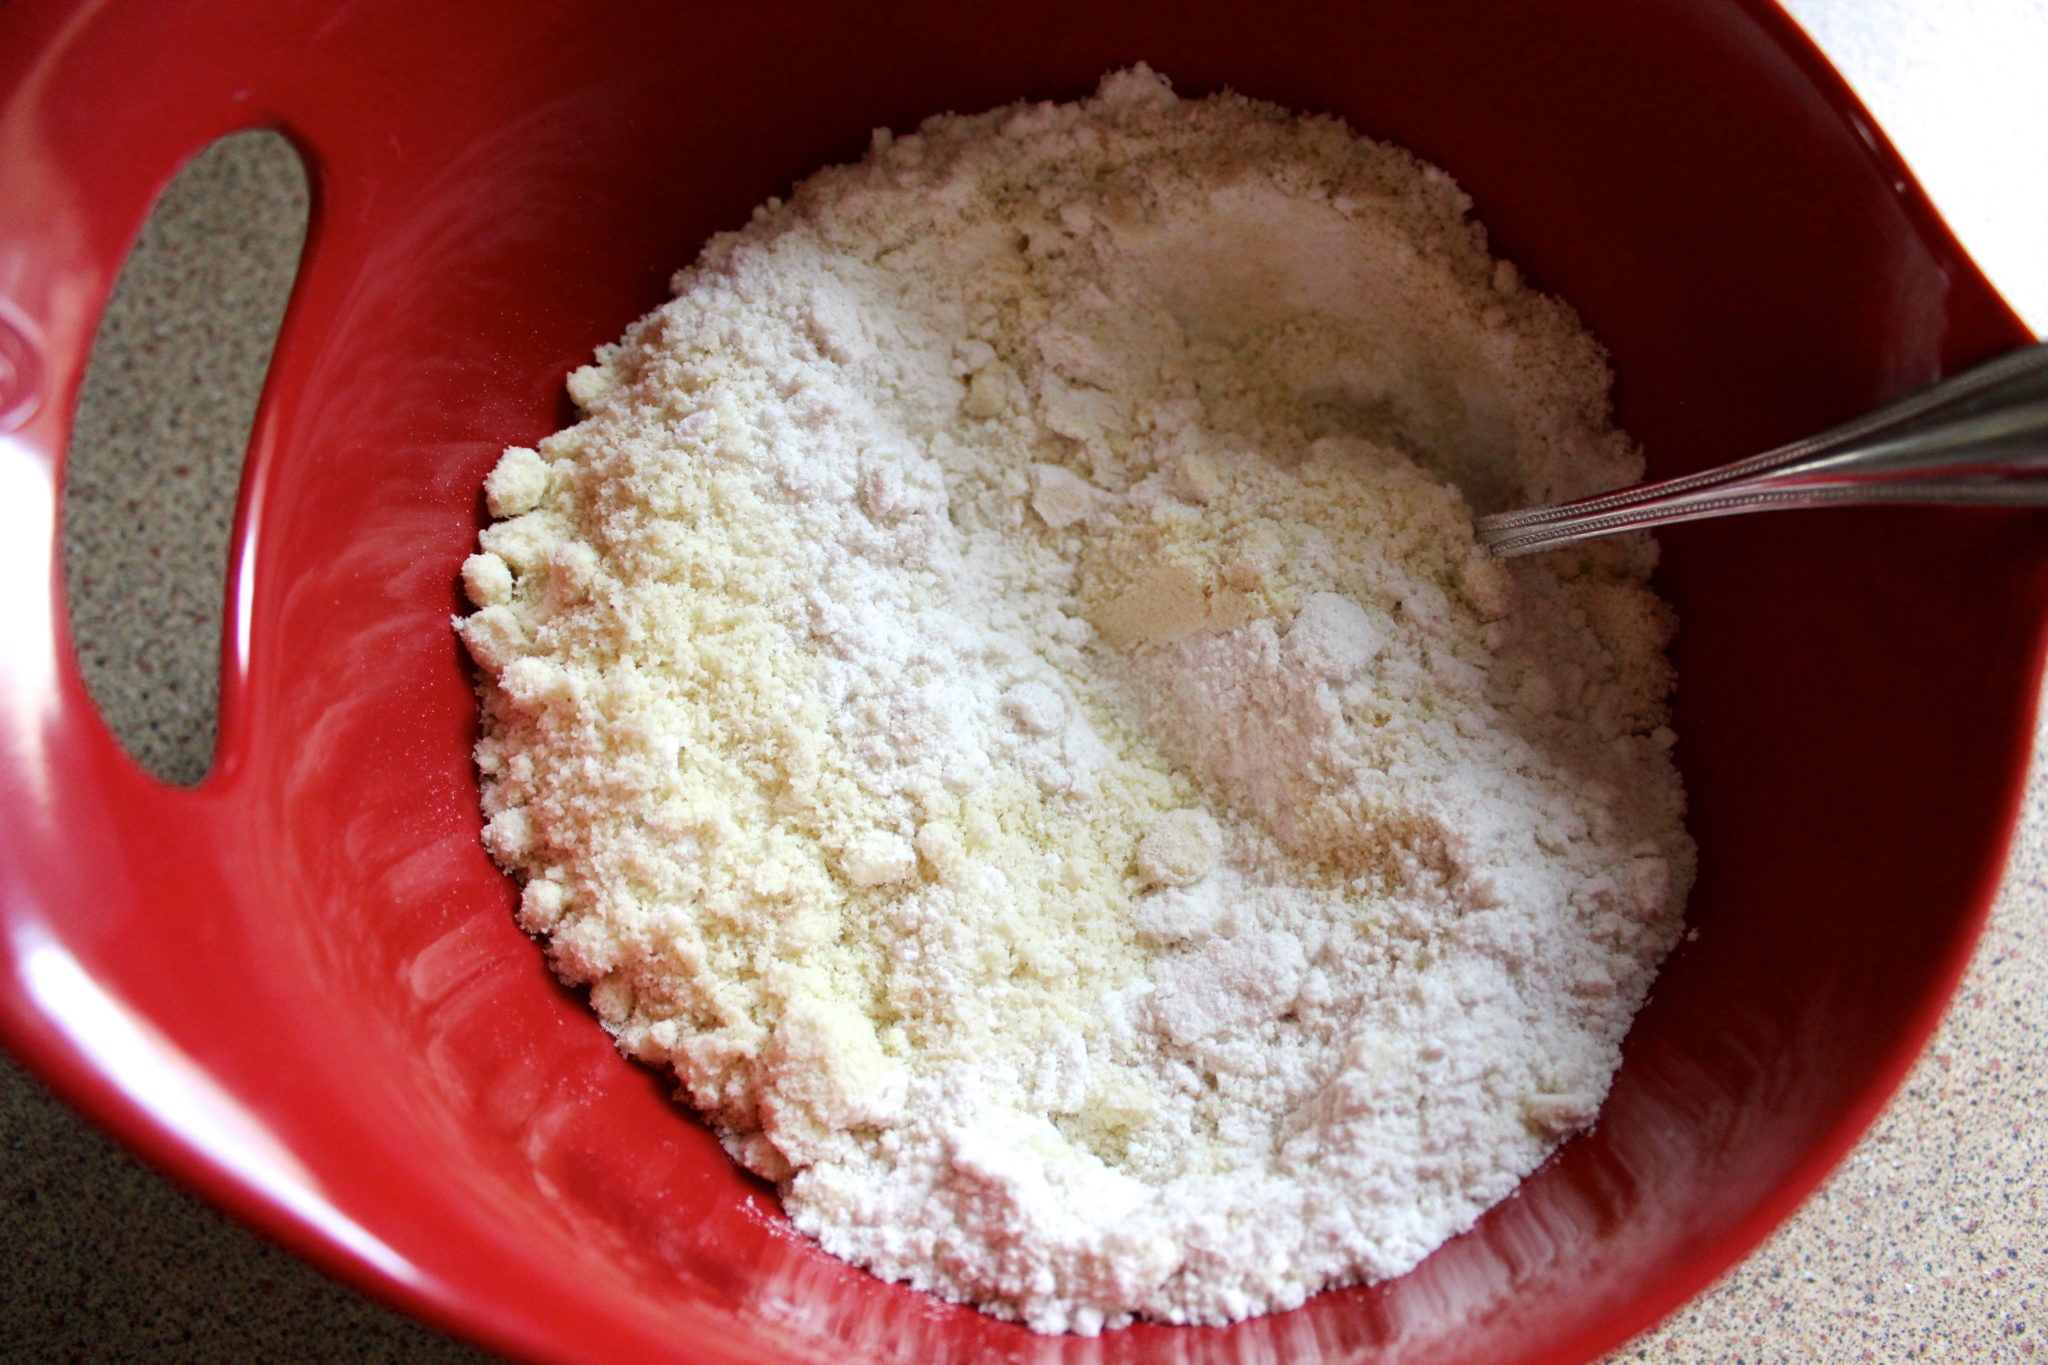
Meanwhile, in a small mixing bowl, stir the flours, baking powder, salt, and xanthan gum together. Add half to the butter-sugar mixture and beat on low until barely combined, then add the rest of the dry ingredients and beat to combine (start on low and then increase to medium so you don’t blow flour all over the place).
Gather the dough together into a ball, flatten it slightly, and wrap it in plastic. Put it in the fridge for at least an hour, but preferably overnight.
When ready to bake, preheat the oven to 350F and grease two cookie sheets (or line with silicone baking sheets/parchment paper). Dust a clean, flat work surface with the gluten-free all purpose flour or cornstarch and rub a little onto your rolling pin. Roll the dough out to about 1/4 inch thick, then cut using a cookie cutter (I used a biscuit cutter for the circles). If the dough starts to get warm, rechill it for a few minutes.
Place the cookies on the baking sheets about 1 1/2 to 2 inches apart from one another. Bake for 8-10 minutes (depending on your oven and the size of the cookies), until they start to turn golden around the edges and look done in the middle. Make sure you cook the cookies completely before icing, and if you need to use a cookie sheet again, let it cool before you put any dough on it.
Icing (this will make enough to decorate several dozen cookies)
1 pound / about 4 cups powdered sugar
4 teaspoons powdered egg whites (not reconstituted – if you can’t find this, you can use meringue powder)
1/3 cup water
1 tablespoon lemon juice
1 teaspoon vanilla
Black and white food coloring gel
Beat ingredients (except food coloring) together in a large bowl with an electric mixer at medium speed until just combined. Then increase the speed to high and beat, scraping down sides of bowl occasionally, until the icing holds stiff peaks (this will take about 3 minutes in a stand mixer or 10ish with a handheld).
Remove some of the icing (about 1/4 or 1/3 of it) and put in a separate bowl to mix with the black food coloring. Mix the white food coloring into the larger bowl until it is the shade you want.
To make the spiderwebs, first put some of the thick white icing into a piping bag with a small tip — I use the #3 Wilton tip — and outline each of the cookies. Next, add water to the remaining white icing in the bowl about a teaspoon at a time, stiring each time, until the icing is the consistency of maple syrup. If you want to make spiders, reserve some of the stiff black icing in a piping bag and thin the rest of the black icing to the consistency of maple syrup. Put the thinned black icing in a piping bag with a plain tip.
Once both thinned icing colors are ready, use a small spoon (or whatever works for you) to spread the white icing all over the cookies, up to the outline you just made. As soon as the cookie is filled in with white, pipe a bullseye onto it in black. Using a toothpick and dragging from the center of the circle outward, make the spiderweb design. You can fill in 2-3 cookies at a time and then draw the bullseyes before starting the toothpick dragging, but don’t do too many or the icing will get too dry.
Allow the icing to dry before piping spiders onto them (if desired).
*All purpose gluten-free flour (Adapted slightly from Minimalist Baker)
1 1/2 cups brown rice flour
1/2 cup potato starch
1/4 cup white rice flour
1/4 cup tapioca flour
Stir everything together and store. You’ll have a little more than you need for the cookies.


