One of my awesome co-workers, June, recently had an incredibly adorable baby boy. But before she left for maternity leave, we had a shower at work to shower her with love… and cookies.
The decorations for the shower were zoo animals, so I decided that frosted animal cookies — like the pink and white kind I loved as a child — would be perfect.
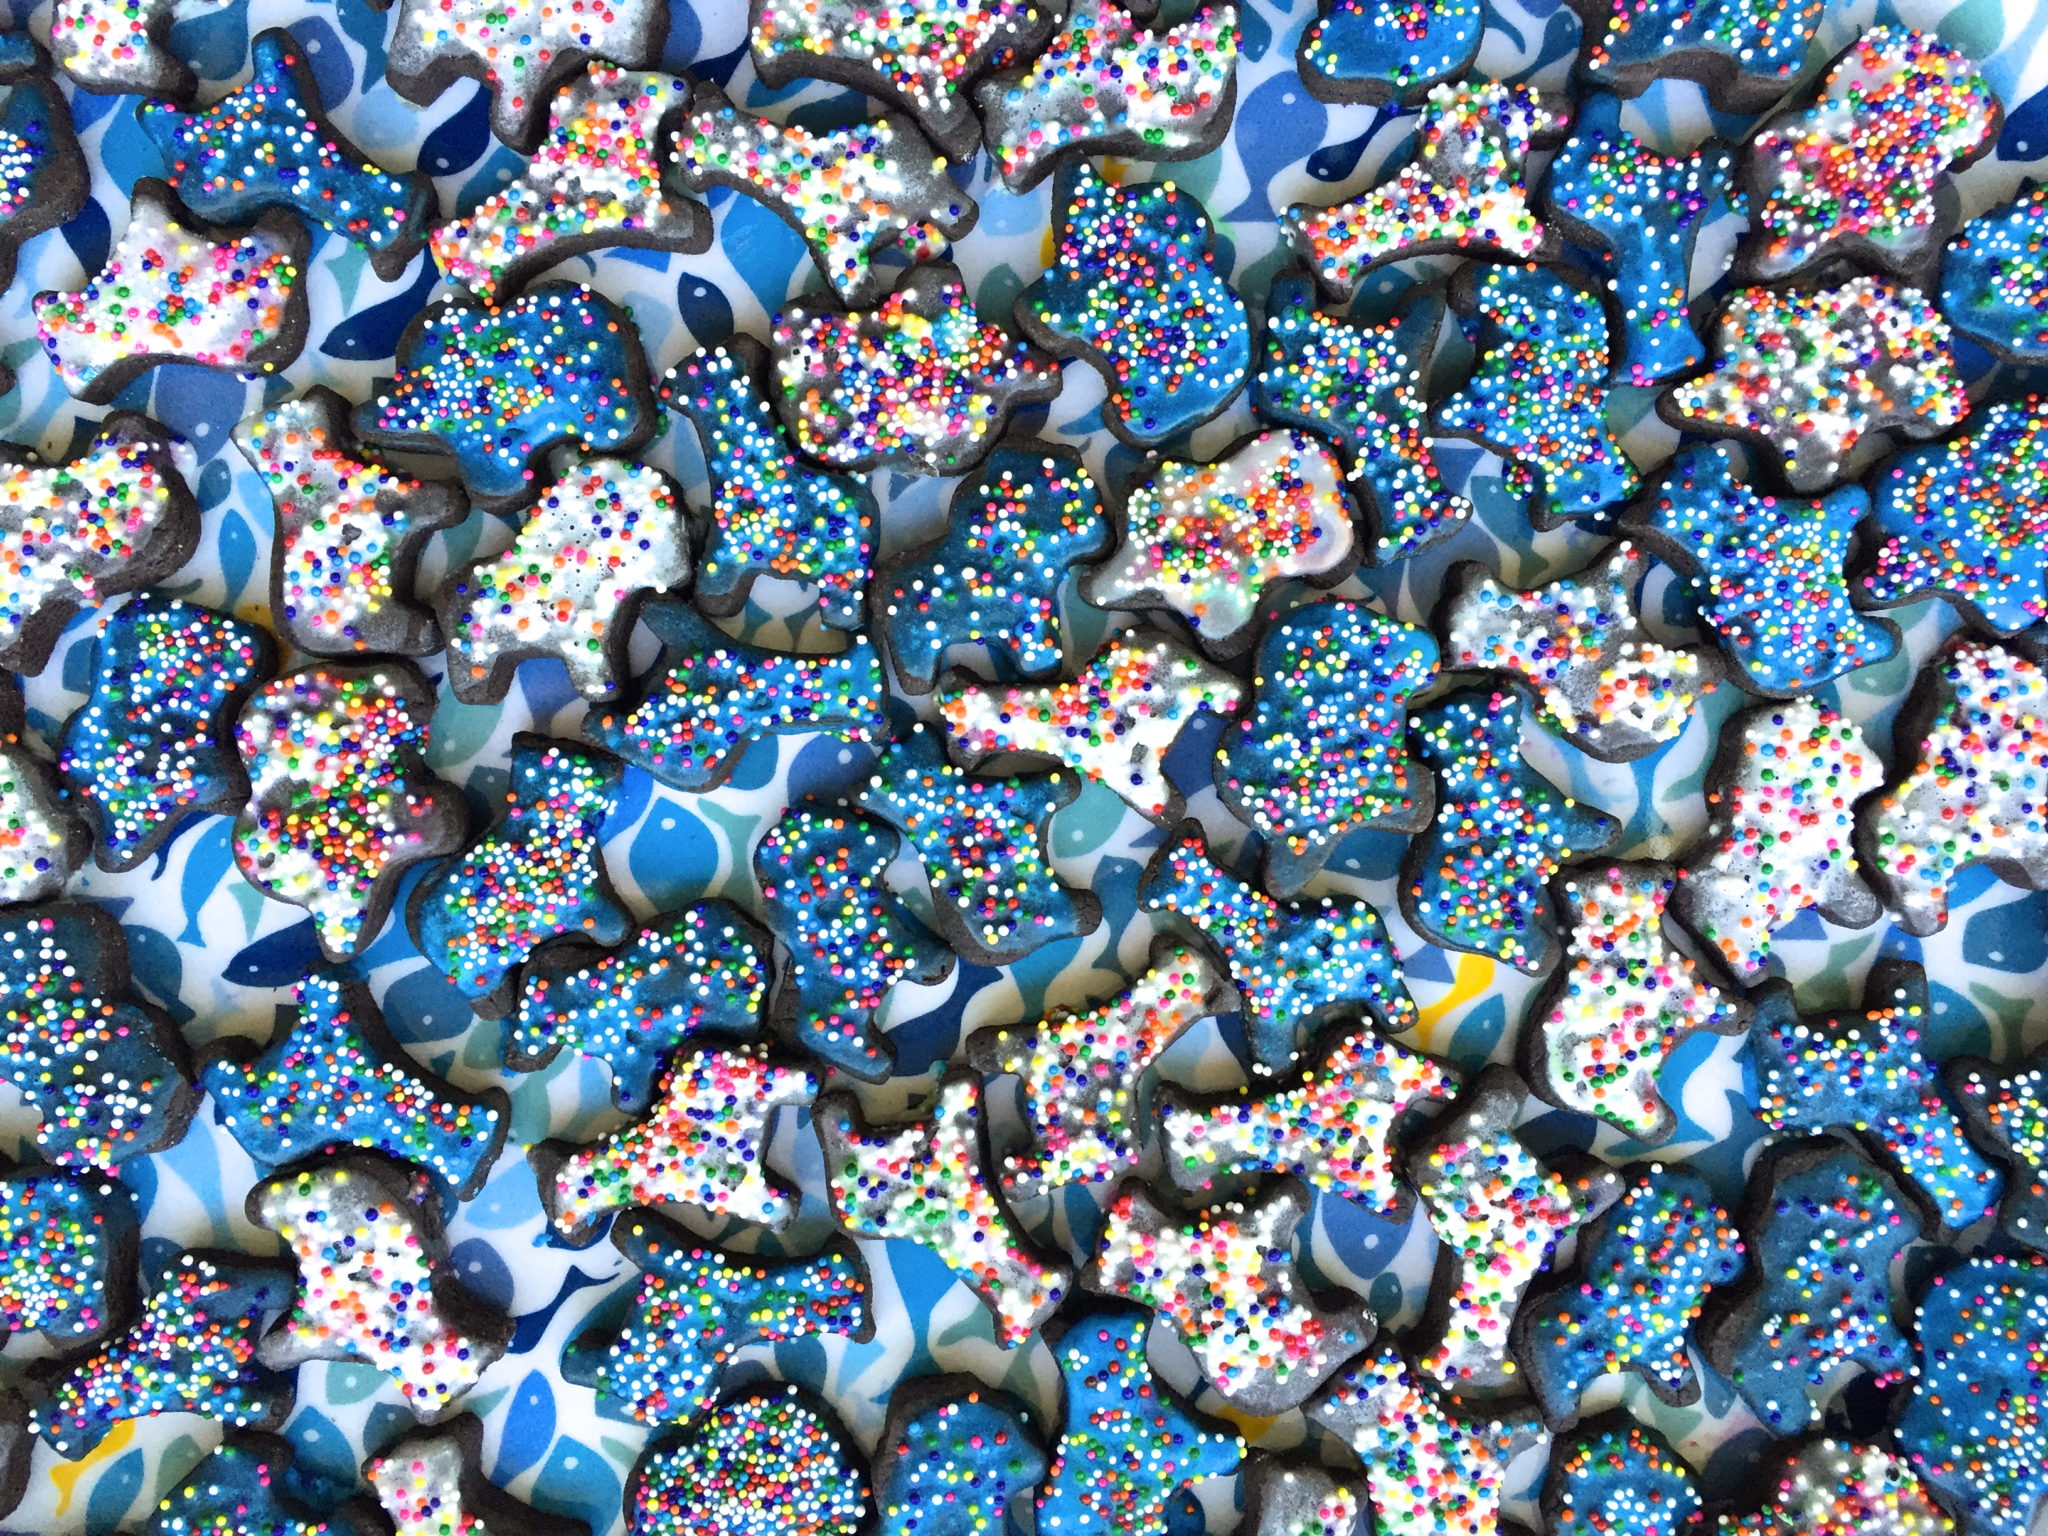
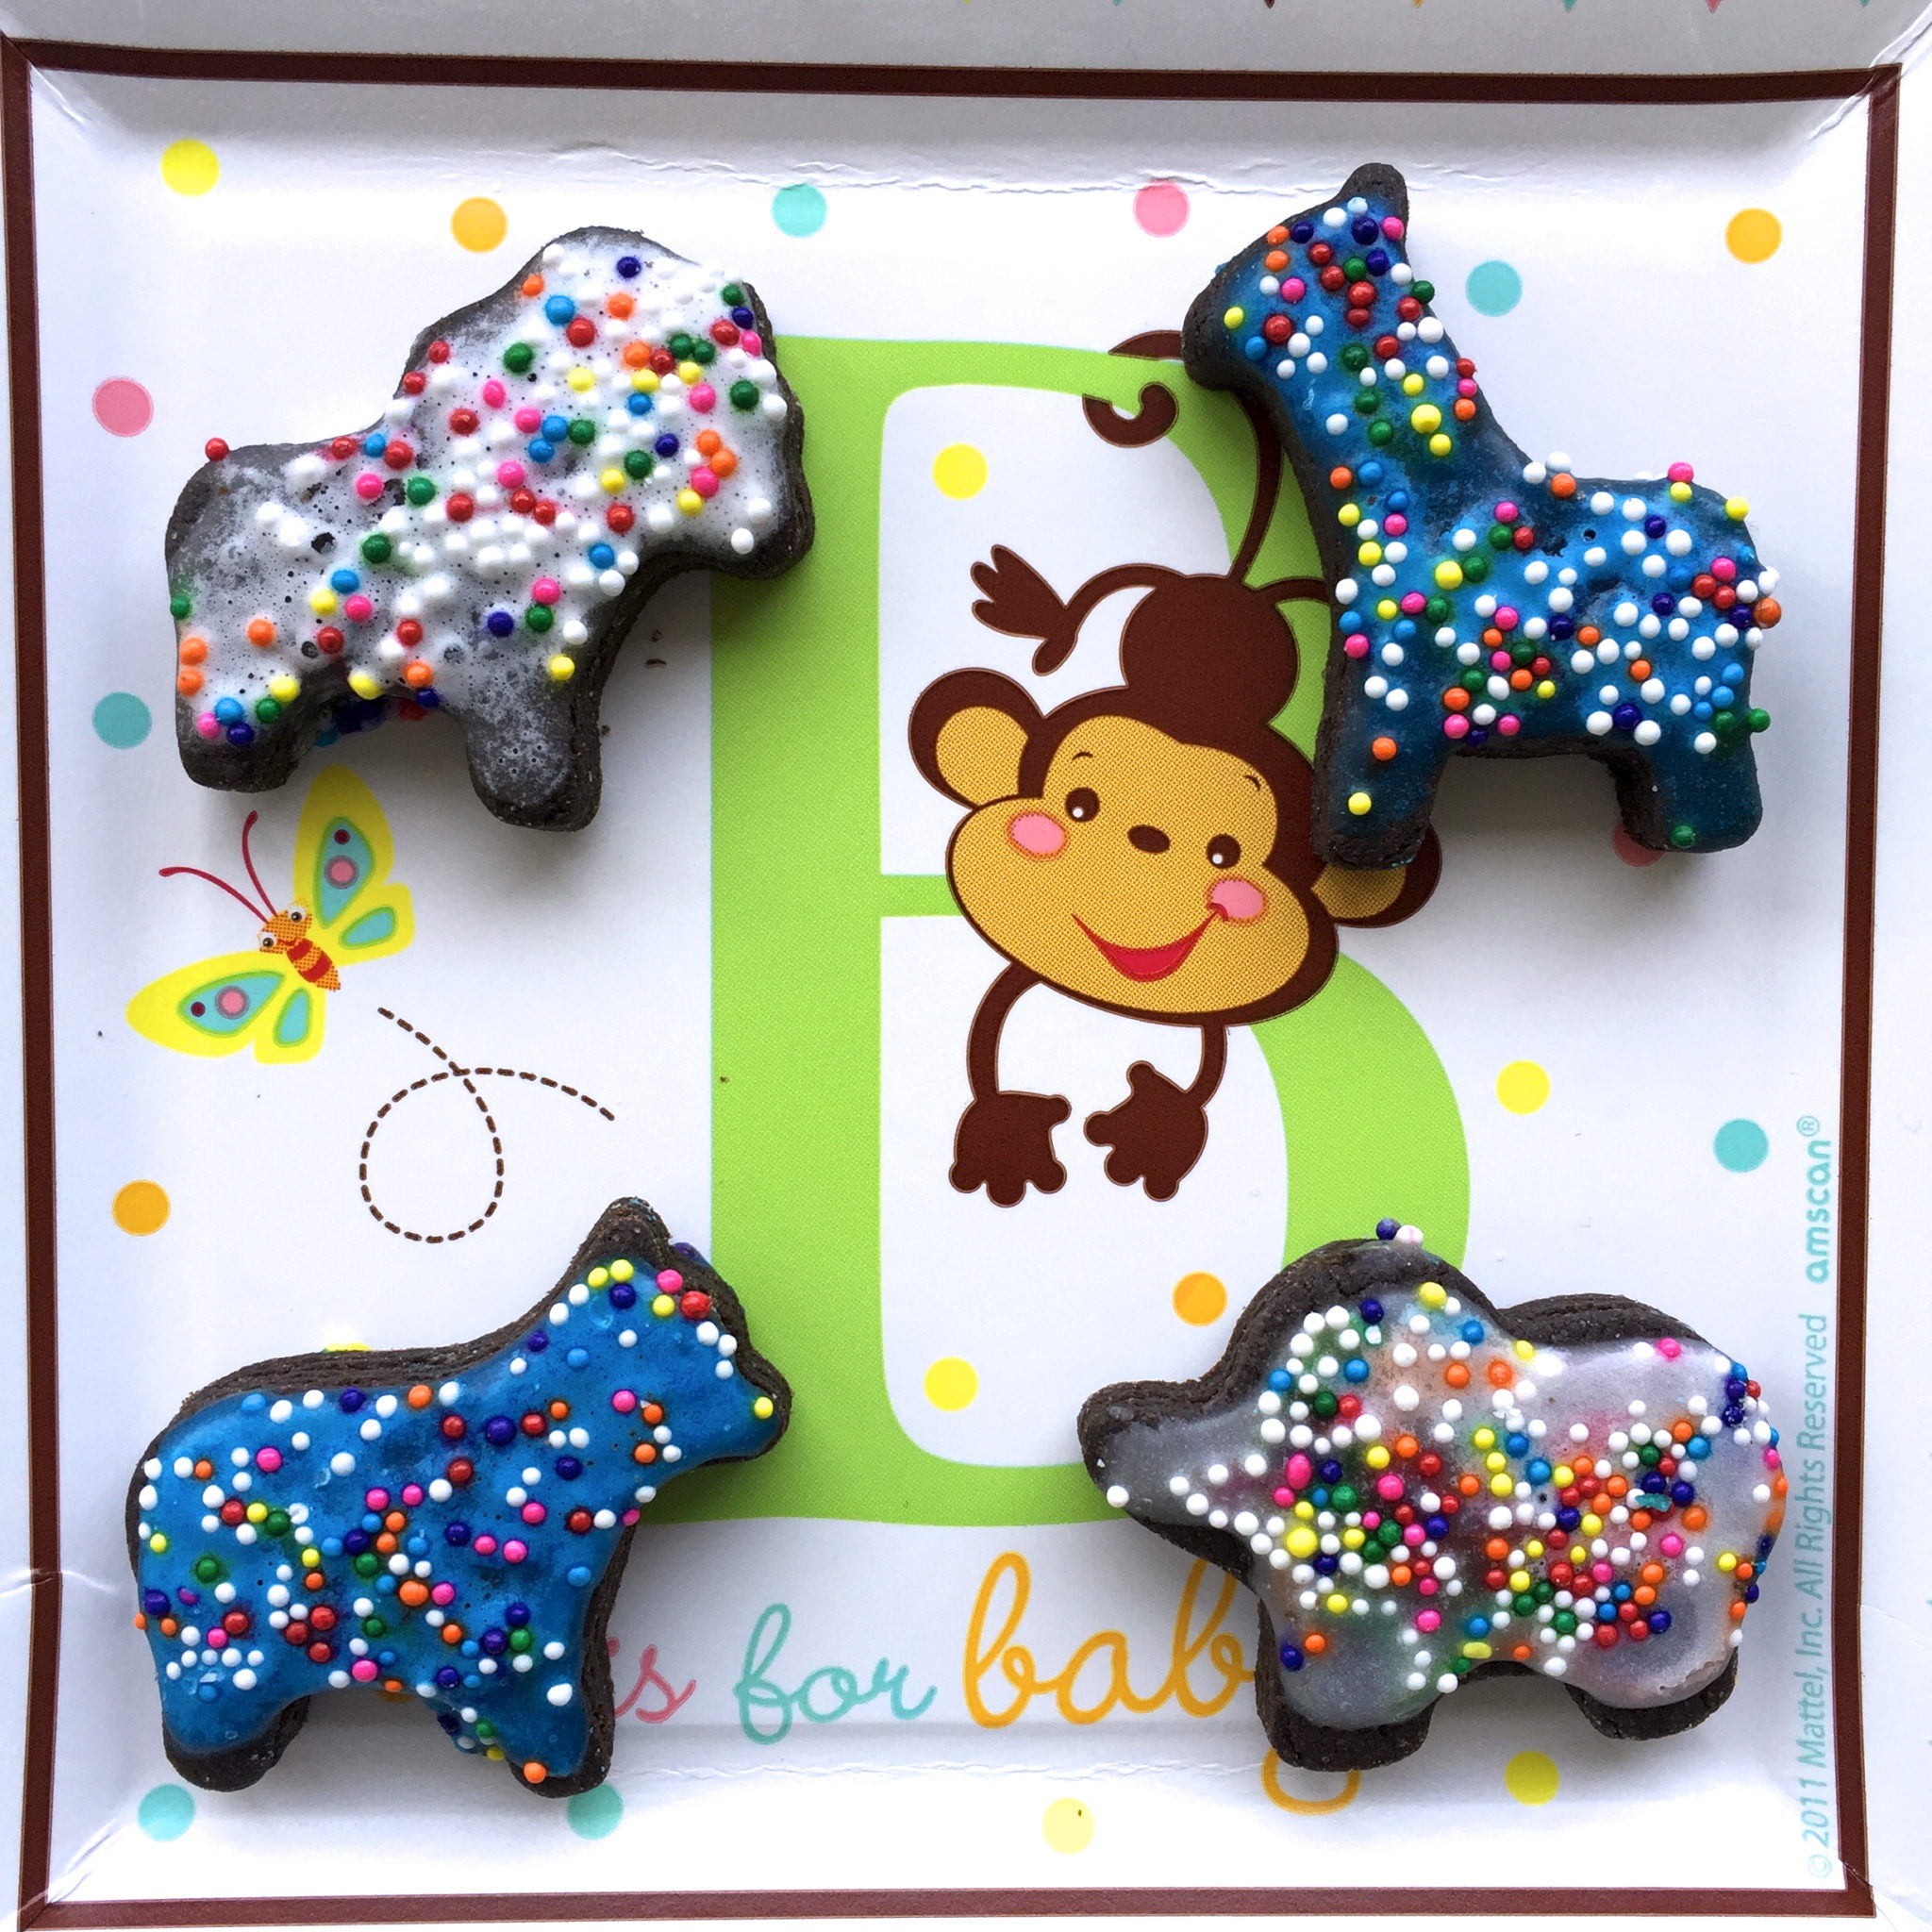
But, since June loves chocolate, and we knew the baby was going to be a boy, I figured that chocolate cookies with blue and white frosting were called for.
This recipe makes a TON of tiny cookies, and you do have to roll out the dough and cut it with cookie cutters. However, the frosting-and-sprinkling process doesn’t take that long because you don’t have to be super precise. And you can feel free to cut the recipe in half (or make all of the dough and freeze half for later!) if you don’t want quite so many. You can also make your icing a little thicker (by not adding quite as much milk) if you want it to dry more opaque.
These went over really well at the shower, although I think I personally ate about 30 of them. The danger of baking bite-sized cookies!
Frosted chocolate animal cookies (Makes 100+ tiny cookies, adapted from The Smitten Kitchen Cookbook)
3 cups all-purpose flour (plus more for rolling)
2/3 cup unsweetened cocoa powder
3/4 teaspoon salt (table salt is fine)
1/2 teaspoon baking powder
1/2 teaspoon cinnamon (optional, but delicious!)
2 sticks unsalted butter (let the sticks of butter sit out on the counter at room temperature for at least an hour beforehand, but don’t microwave them or otherwise melt the butter)
1 1/2 cups sugar
2 large eggs
1 1/2 teaspoons real vanilla extract
Milk, powdered sugar, and blue (or pink!) food coloring for the frosting
Rainbow sprinkles (the round ball kind)
Measure the flour by spooning it into a dry measuring cup and then dragging a knife across the top to level — don’t smoosh it down into the cup or use the measuring cup to scoop it.
Pour the measured flour, cocoa powder, salt, baking powder, and cinnamon into a medium mixing bowl. Use a whisk to stir and combine the dry ingredients, then set aside.
Put the butter and sugar in the bowl of a stand mixer fitted with the paddle attachment or in a large mixing bowl (if using a hand-held electric mixer). Beat the butter and sugar together for several minutes, starting at a low speed to combine them and then increasing to a medium or medium-high speed. Keep beating until the mixture is a lighter color and it looks fluffy.
Add one egg and beat for a few seconds to combine. Use a spatula to scrape down the sides of the mixing bowl, then add the second egg and beat again to combine. Add the vanilla and beat for about a minute, until the mixture looks well combined.
Gradually add the flour-cocoa mixture to the butter-egg mixture and mix just until the ingredients look combined (I recommend adding about a third of the dry ingredients and turning on the mixer for about 20-30 seconds, just until the flour and cocoa look wet, then adding another third and so on. DON’T dump the whole dry mixture at once or the mixer will make the flour and cocoa go everywhere).
Divide the cookie dough into two roughly equal parts and wrap each well with plastic wrap (I recommend shaping the halves into rounds and sort of smooshing them down inside the plastic). Refrigerate the dough for at least an hour, or overnight.
When you’re ready to bake the cookies, line two or more cookie sheets with parchment paper or silicone baking sheets. Preheat the oven to 350F. If the cookie dough has been in the fridge overnight, let it sit on the counter for a few minutes before rolling, unless you’re a glutton for punishment.
Prep a flat workspace (the kitchen counter is the most obvious option, and I usually use a rolling mat) by making sure it’s clean and then dusting it lightly with flour. Unwrap one of the cookie dough rounds and place it on the floured surface. Sprinkle a little flour over the top of the dough or rub some flour on the rolling pin.
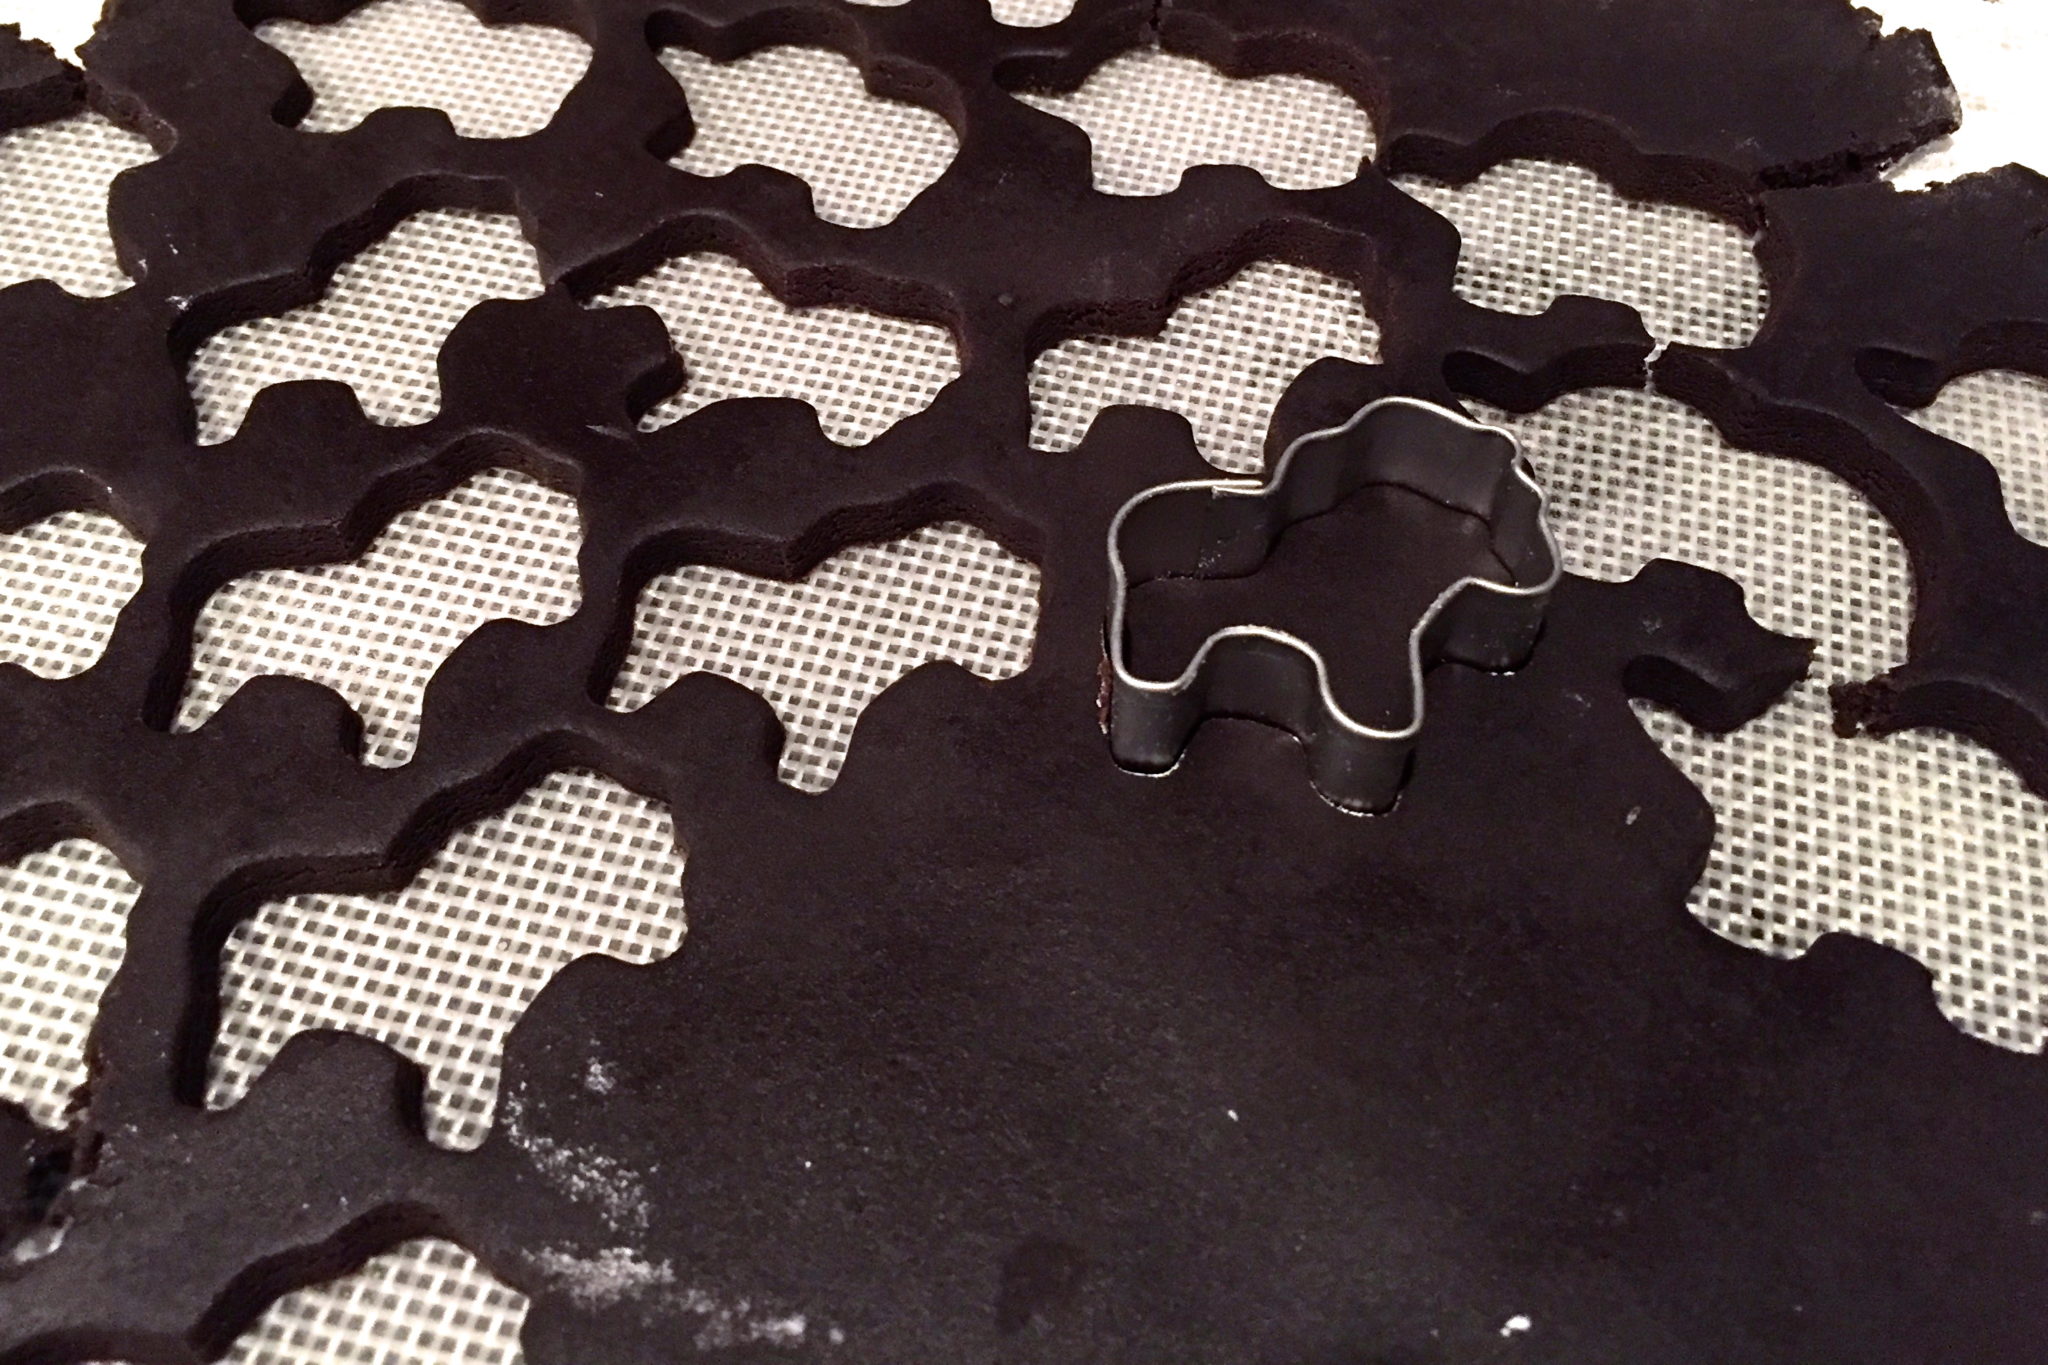
Roll the cookie dough out to about 1/4-inch thickness and cut using a cookie cutter (I used a 1.5-inch animal cutters from a Wilton Noah’s Ark set). Arrange the cookies about an inch away from each other on the cookie sheets and bake about 8 minutes, or until the edges are firm and the centers are a bit puffed.
After you take the cookies out of the oven, let them cool for a few minutes on the cookie sheets, then move them to a wire cooling rack.
For the frosting, you can make all the frosting at once and then separate it to dye half blue, or make it separately. For separate, put about a cup of powdered sugar into two bowls or cups, then add a few drops of milk, stir, and add more milk until the frosting is the consistency you like. It doesn’t take much milk!!! For the blue frosting, you should add the food coloring early, before the frosting is the desired consistency.
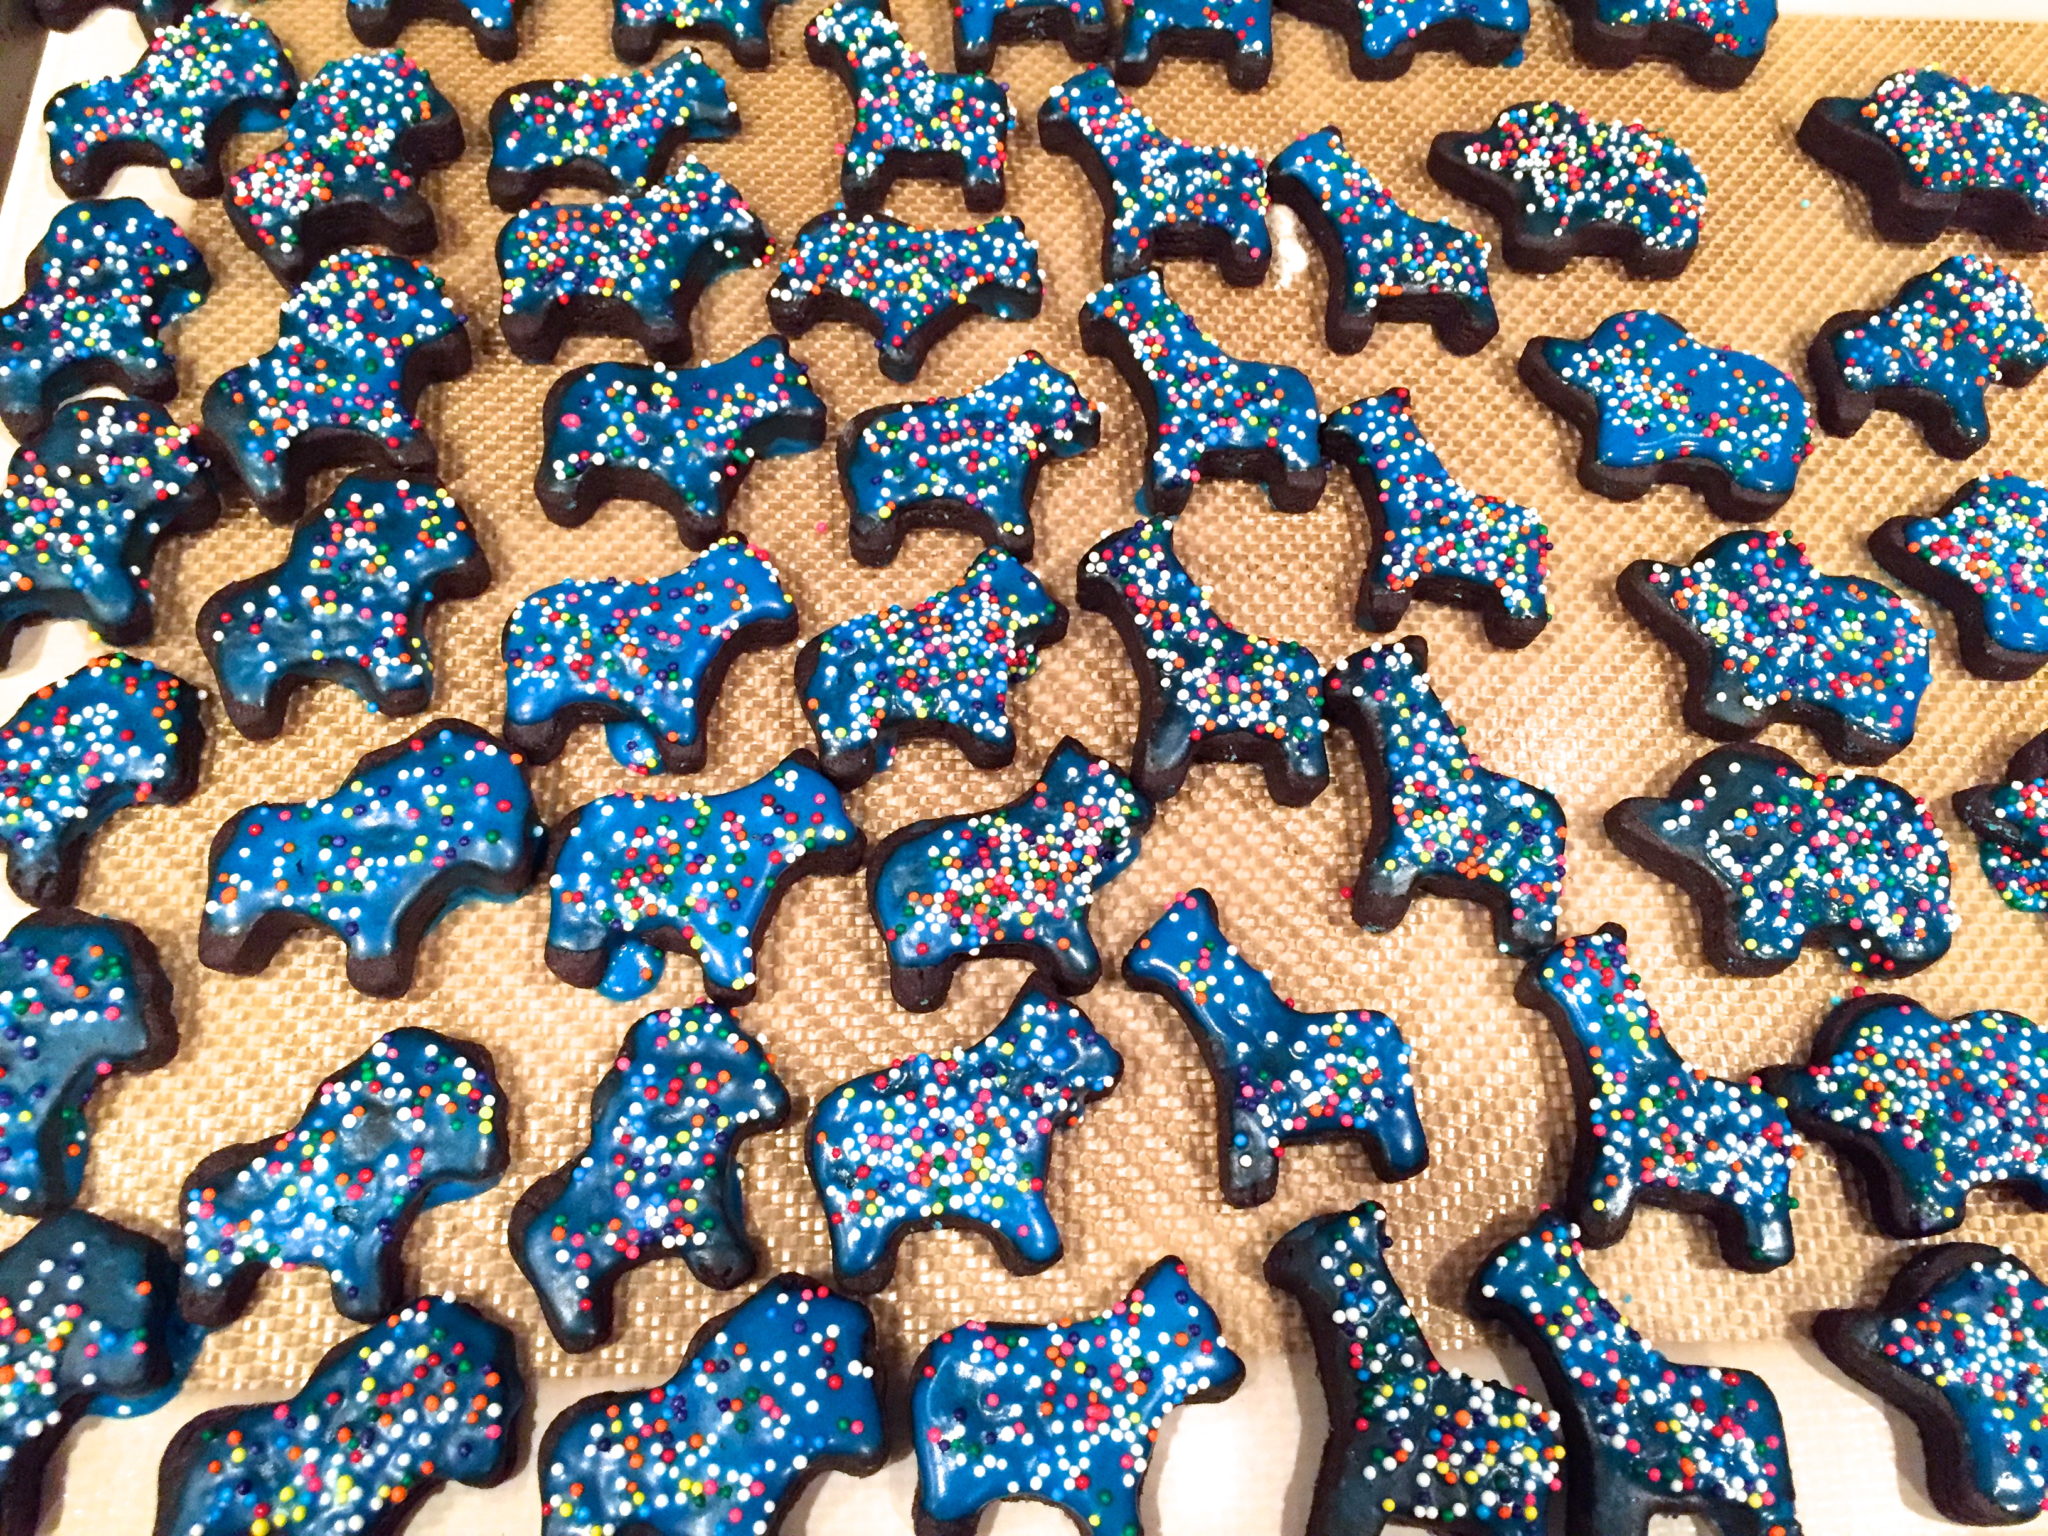
Once you have the white and blue frosting ready, use a small spoon to spread the frosting over a few cookies at a time, then sprinkle with the rainbow sprinkles and set aside to dry. Continue until you have all of the cookies frosted, roughly half white and half blue.


