The Cherry Blossom Festival ended Sunday, and tiny pink petals are floating all over DC — but some of the trees are still blooming. Toby and I went down to the tidal basin two weekends ago and it was beautiful.
Naturally, I was inspired to bake cookies.
I thought about something with cherries, but instead I decided to try a Dorie Greenspan recipe for chocolate roll-out cookies from Epicurious.com and decorate them with pink royal icing.
These cookies have cocoa powder AND melted (unsweetened) chocolate in the dough. They also have cinnamon, which may sound odd — but let me tell you, they are AWESOME.
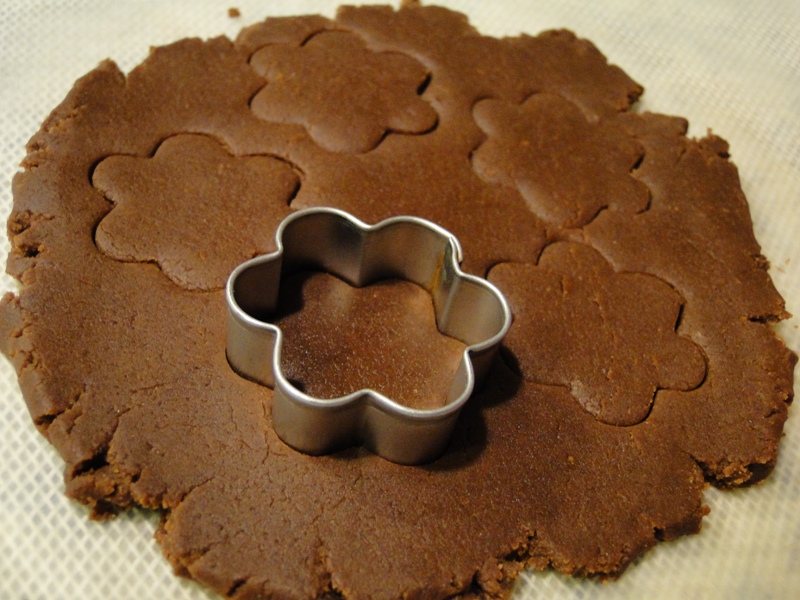
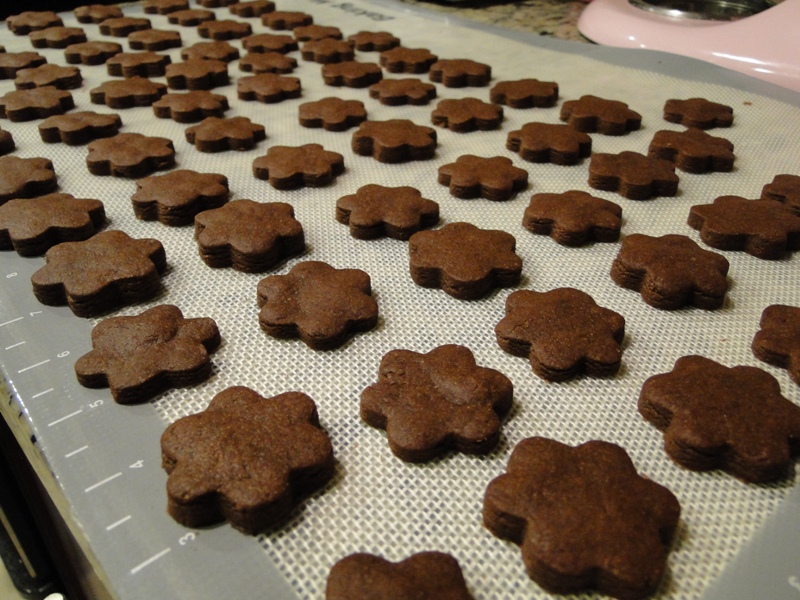
The recipe says to roll out the dough between two pieces of wax paper, but I didn’t find that necessary. You want to avoid adding any flour, but I was able to roll it out on a piece of wax paper with my silicone rolling pin easily.
The cookie cutter I used is tiny, so it probably made 120ish cookies. You need to let the cookies cool before you frost them, but there were so many that I started making the icing as soon as I put the last sheet of cookies in the oven.
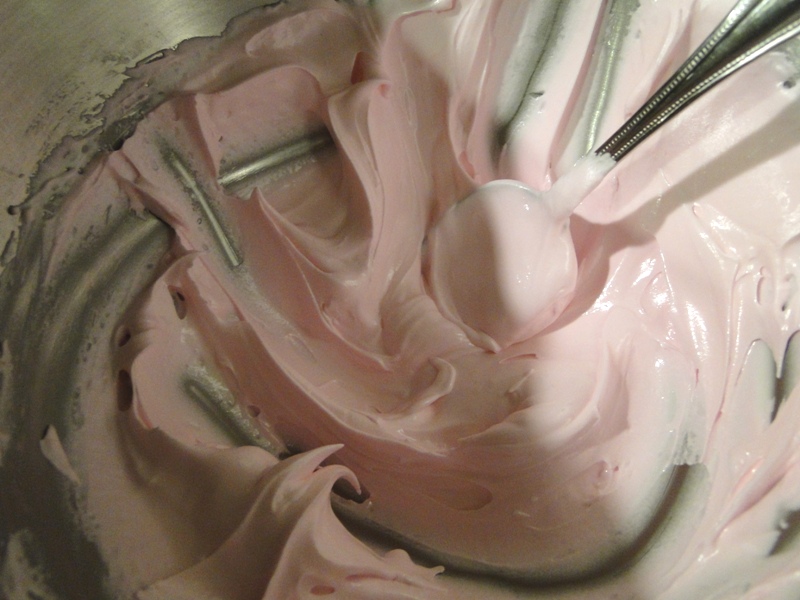
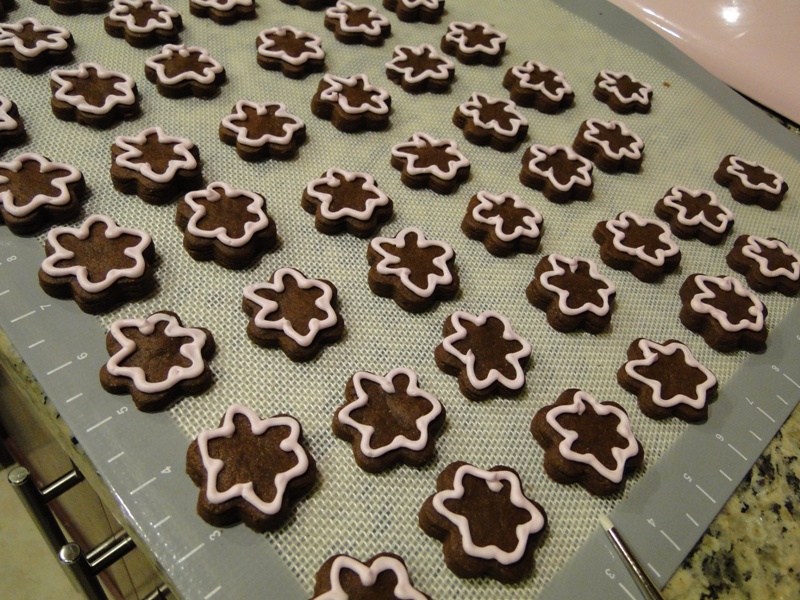
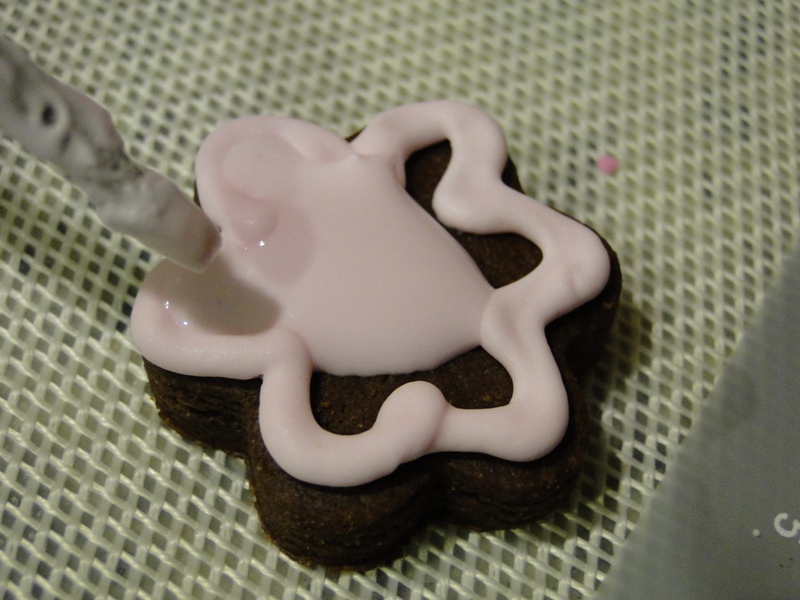
When you first make the icing, it should be very stiff. I use a piping bag with a small round tip to do the outline first.
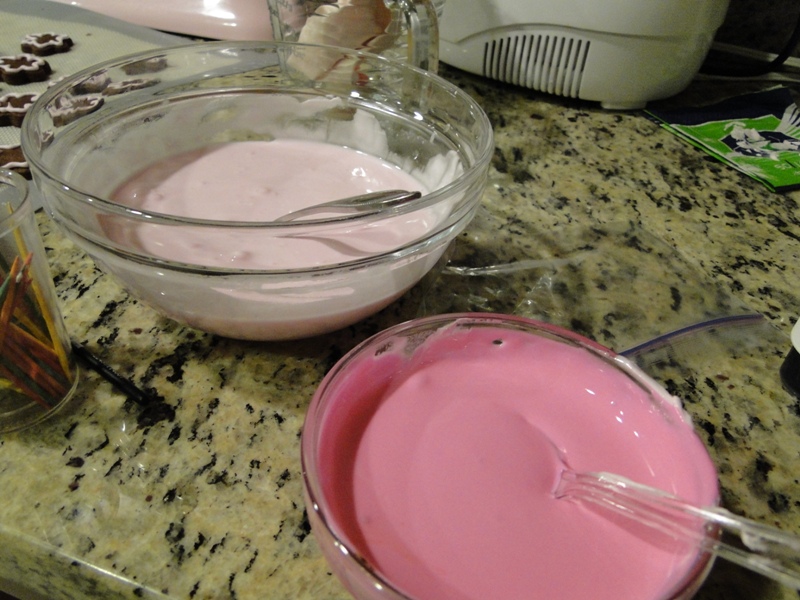
Next, I stir in water (about a teaspoonful at a time) to thin the icing to a consistency that is spreadable but still thick. You don’t want it watery, but you don’t want it so firm that it clumps. I did some in the same light pink color as the outline, and one smaller bowl of a darker pink.
Then you want to use this “flood icing” to fill in the outline. I bought a little rubber paintbrush-like thingy at an art store, but you can also use the back of a tiny spoon or even a toothpick.
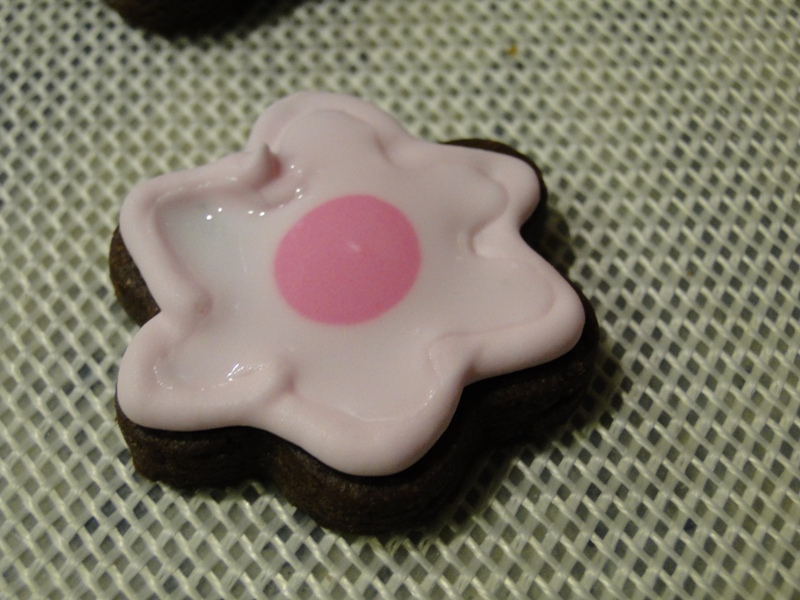
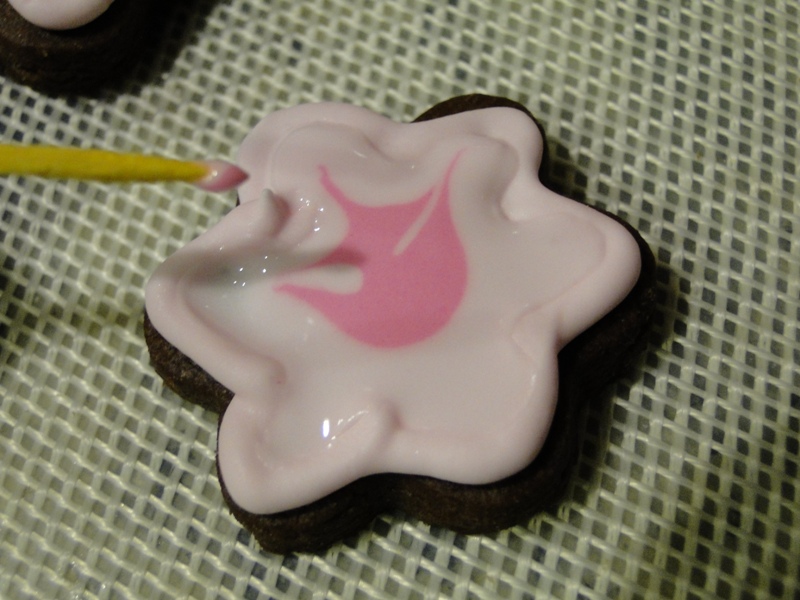
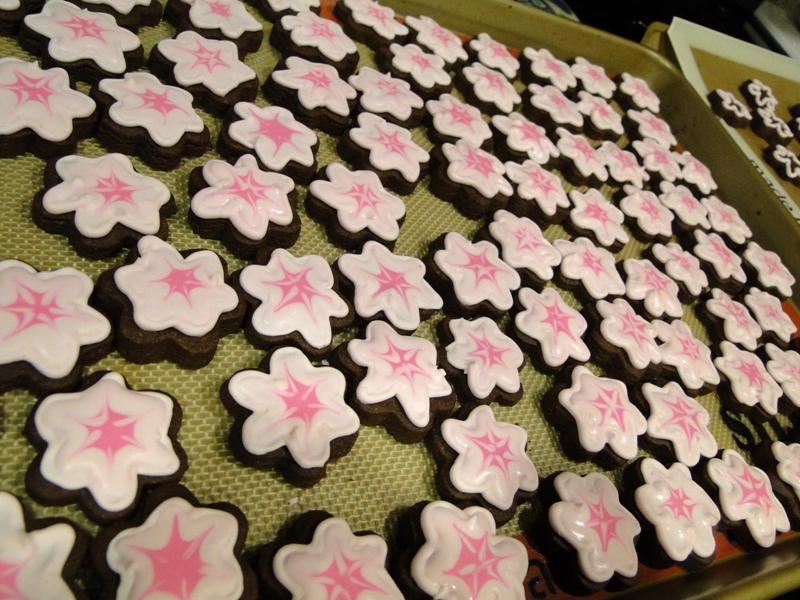
You have to work a few at a time so the light pink doesn’t dry before you do the next step. I used a baggie with a little hole at the end to drop a big drop of the hot pink icing in the center of the flowers. Then, I used a toothpick to make the dot into a little star pattern.
Basically you just stick the toothpick in the middle of the dot and drag it outward. Then let the cookies dry overnight…
and you’ve got chocolate-cinnamon cherry blossoms! (Even if you’re not in a cherry blossom mood, you should try this cookie recipe. They are amazing plain, or decorate them however you choose).
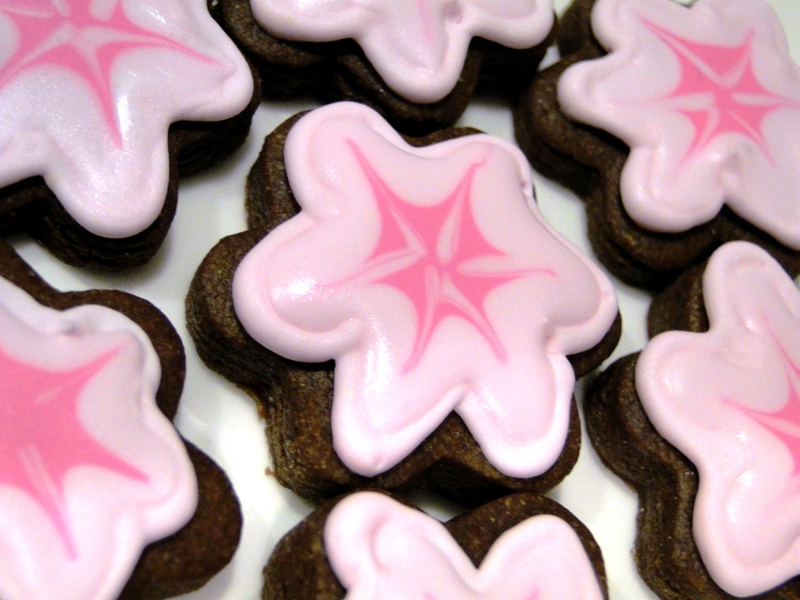
Chocolate cookie cutouts (Adapted from Dorie Greenspan via Epicurious)
2 1/2 cups all purpose flour
1/4 cup unsweetened cocoa powder
1/2 teaspoon baking powder
1/2 teaspoon salt
1/4 teaspoon baking soda
1/2 teaspoon ground cinnamon (optional)
3 ounces bittersweet chocolate, chopped
1 cup (2 sticks) butter, at room temperature
1 1/3 cups sugar
1 large egg
1/2 teaspoon vanilla
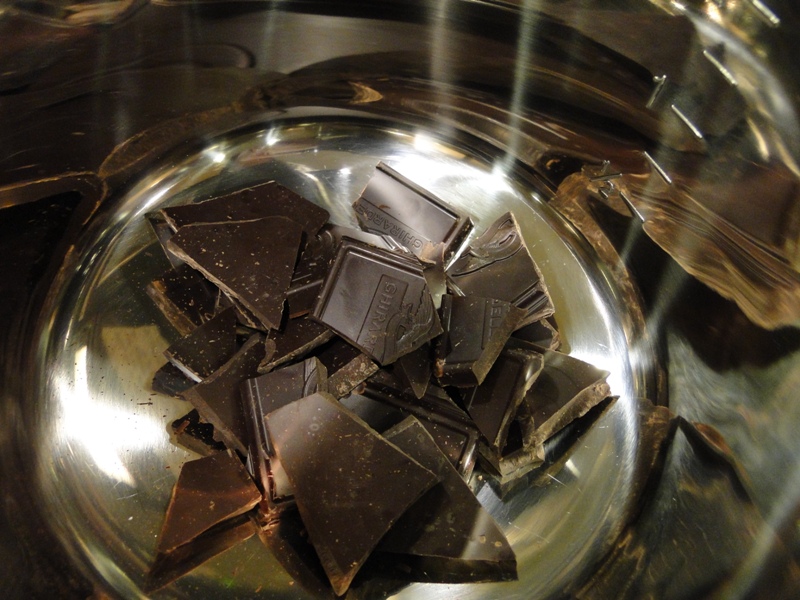
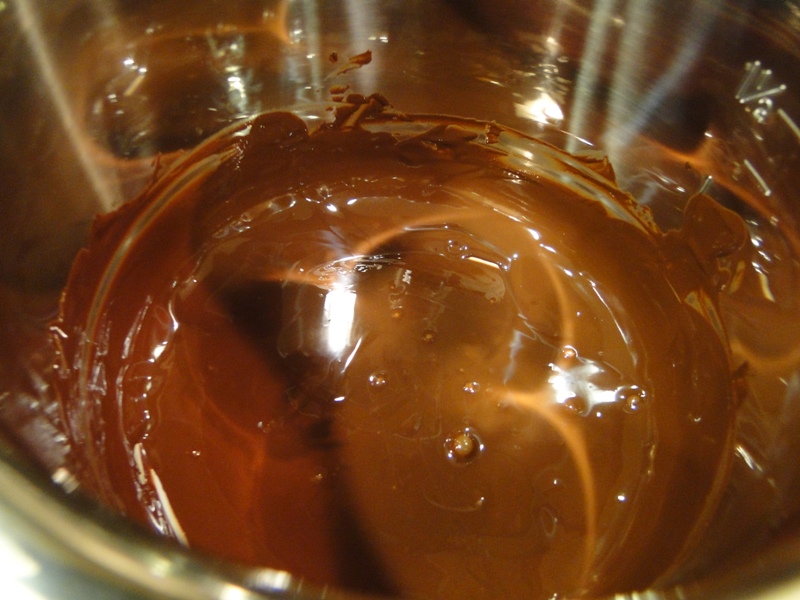
Sift first 5 ingredients and cinnamon (if using) into a medium bowl. Melt chocolate in a double boiler or metal bowl set over a saucepan of simmering water, stirring until melted and smooth. Remove chocolate from heat and allow to cool slightly.
In large bowl, beat butter with an electric mixer at medium speed until smooth and creamy. Add sugar and cream together until mixture is pale and fluffy. Add egg and beat until well blended.
Reduce speed to low and beat in vanilla and chocolate. Add half of flour mixture, beat on low to barely combine and then add remaining flour mixture. Beat on low speed just to blend.
Gather dough into a ball and divide in half. Form each half into a ball and flatten in a disk. Wrap disks in plastic and chill until firm, at least four hours.
If dough has been chilled overnight, allow to sit at room temperature about 15 minutes before rolling.
When ready to bake, preheat oven to 350 and line two baking sheets with parchment paper or baking sheet liners.
Using one disk at a time, roll out dough on a sheet of waxed paper (if the dough sticks to the rolling pin, put another sheet of waxed paper on top of the dough and roll over that). Do not add flour.
Cut out cookies with cookie cutters. If the dough gets too warm as you’re cutting the cookies, place the dough (and the waxed paper) in the freezer for a few minutes.
Transfer the cookies to the prepared baking sheets, leaving about an inch between the cookies. Gather the scraps, roll out dough and cut out more cookies. Continue until all dough is used.
Bake cookies one sheet at a time until cookies are firm on top and slightly darker around edges, about 8 minutes for small cookies and up to 12 minutes for larger cookies. Replace parchment paper as needed.
Cool cookies completely before decorating.
Royal Icing (From the Gourmet cookbook)
1 pound powdered sugar
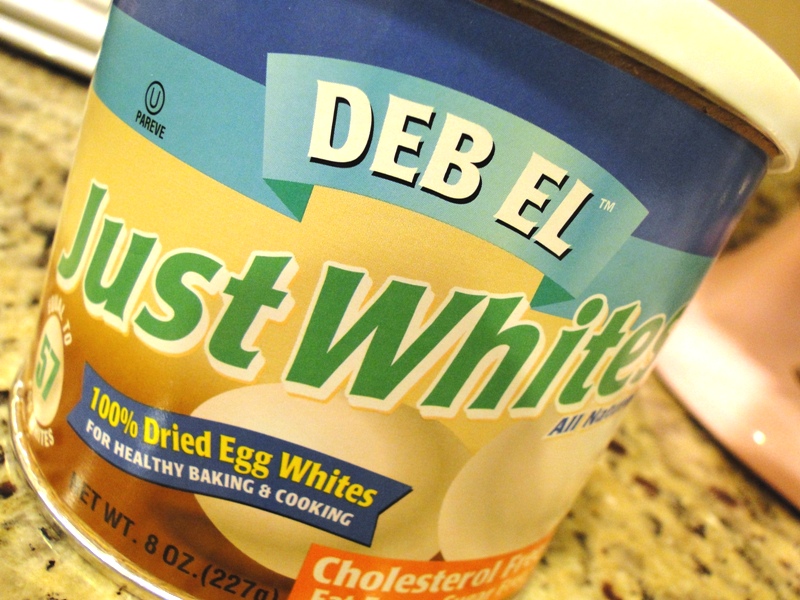
4 teaspoons powdered egg whites (not reconstituted)
1/3 cup water
1 tablespoon fresh lemon juice
1 teaspoon vanilla
Food coloring, if desired
Beat ingredients (except food coloring) together in a large bowl with an electric mixer (use the whip attachment if using a stand mixer) at medium speed until just combined. Then increase speed to high and beat icing, scraping down sides of bowl occasionally, until icing holds stiff peaks (this will take about 3 minutes in a stand mixer or 10ish with a handheld). Mix in food coloring or separate into different bowls to color.
If not using immediately, cover the surface of the icing with a damp paper towl, then cover bowl with plastic wrap. If you need to set down the piping bag for a while but will need to use it again, set it in a glass or cup with a small amount of water at the bottom. Test a little out on a napkin or plate before continuing.
To thin icing for spreading: Color icing to desired shade, then add water about a teaspoon at a time, stirring to combine, until consistency is correct.
For more cookie-decorating tips and ideas, visit Bake at 350 and/or University of Cookie.




These are beautiful! I’m going to try them.
These were absolutely amazing, the other great thing about them is they were bite size so I did’t feel so bad when I ate about 20 of them.
These are beautiful, and I just showed my 7th and 8th graders the Washington Post “Peep ” Show! I think you and Toby need to enter this next year. Talked to your Mother last night and am so excited that they are coming too! xx Jane
Hi Jennifer! I’m just catching up on your blog posts. These cookies look amazing! I’ve never decorated with royal icing before. I’ve always been too intimidated by it. Doesn’t it dry really quickly? Anyway, I may have to give it a try especially with this great chocolate cookie recipe. I’ll probably eat 20 of them in one sitting too.
It does dry relatively quickly, so if you want to put a blob of frosting and spread it out and/or make a design, you have to do it within a few minutes. But, I was able to do six or seven cookies at a time with the flood icing.
The stiffer icing dries faster, of course, but it is actually kind of nice because by the time you get done outlining them all, the ones you outlined first will be dry. You just want to make sure you put a lot of the the icing in the piping bag initially so it doesn’t dry out before you finish piping. You can always add a little water to thin it, but that isn’t the best consistency for outlining.
You also could just make the recipe and skip the frosting… they are still really good!