Pie crust can be pretty intimidating. A tasteless or overly dense crust can ruin a pie, and unlike cake, you can’t just cover it with frosting if it looks a little wonky. But you can totally make a good one. Seriously.
How do I know? Well, I’ve tried roughly a zillion different recipes and determined that this one is pretty easy to make, but more importantly: it’s hard to screw up (please recall that I recently added cayenne to a raspberry pie instead of cinnamon, so I know what I’m talking about here).
The first few times I made it, I did it by hand (because I know you might not have a food processor), and I actually didn’t follow the original instructions, so I’m going to give you the ones I used. I’ve also made it in my food processor, and that worked beautifully as well. So, I’ll show you both ways, and give you the directions for each method. But the key to this whole situation is vodka.
I know the idea of putting vodka in your pie crust might be a little weird. And I hate vodka, so I was a bit hesitant at first. But it works really well because it provides the moisture needed to hold the flour together for rolling, but evaporates in the oven, leaving behind flaky dough with no alcohol flavor.
And while the idea of sticking to just butter and avoiding lard or shortening sounds nice, I’ve found that all-butter pie crust is a lot easier to mess up. Using a mix of the two gives you a buttery flavor and the flakiness you want.
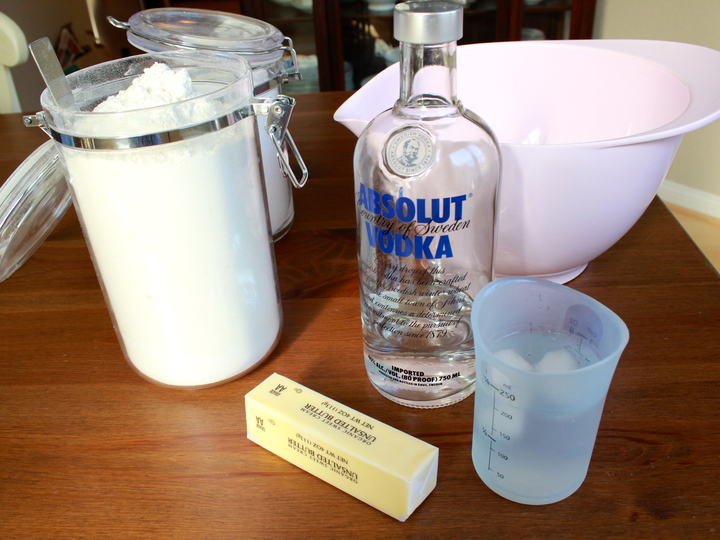
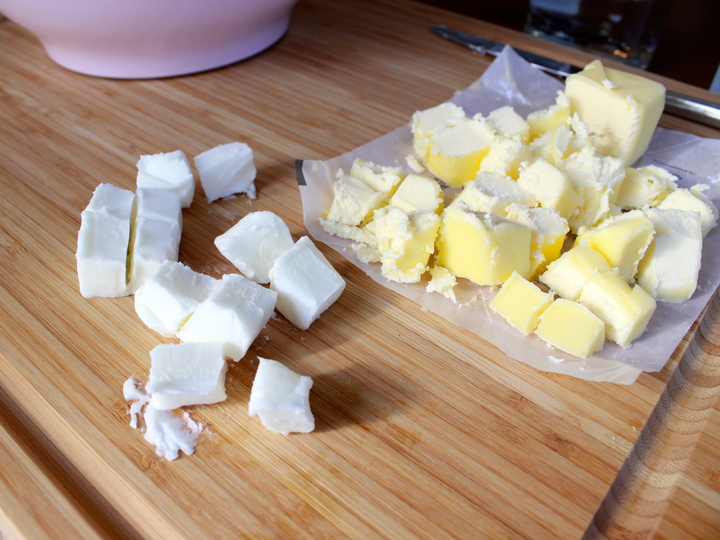
There are a couple of ways to make this easier, regardless of the method you use. The first is to put the shortening and the butter in the freezer for a few minutes before you start working (although you should probably cut the butter into pieces first). You should also ice the water and chill the vodka. Some people chill everything — the bowls and spoons and everything — but I generally don’t have enough room in my fridge for all that.
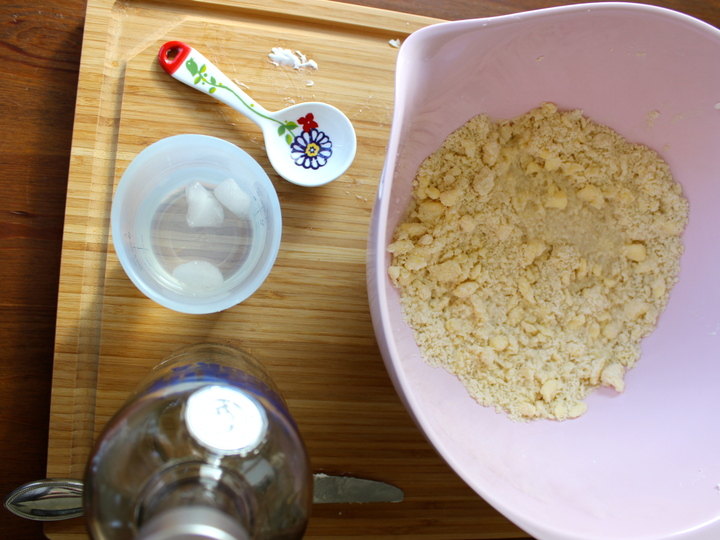
If you’re doing this by hand (I used my fingers, but you can use a pastry blender or forks), you want to make sure the fats are well incorporated but that there are still some pieces visible. I actually couldn’t get this much more incorporated than you see above, but you’re looking for some pea-sized pieces remaining.

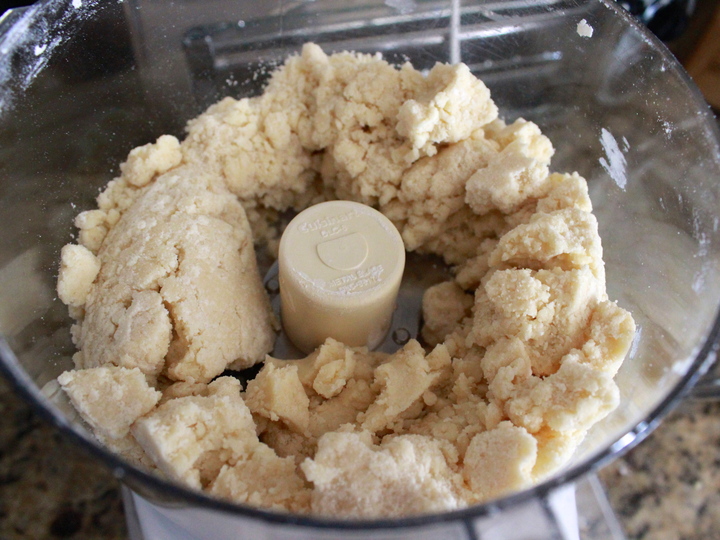
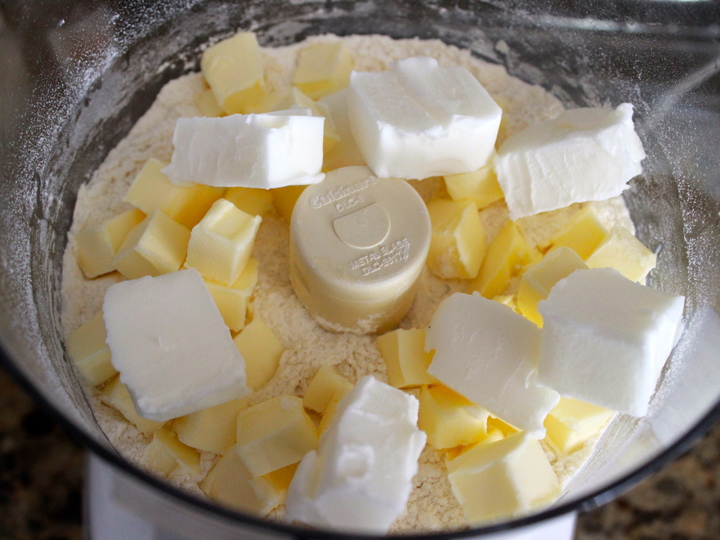
Using a food processor is a bit different. You’ll want to add just PART of the flour and evenly distribute the butter and shortening — to the point where there basically aren’t visible chunks anymore. Then you add the rest of the flour before adding the liquids.
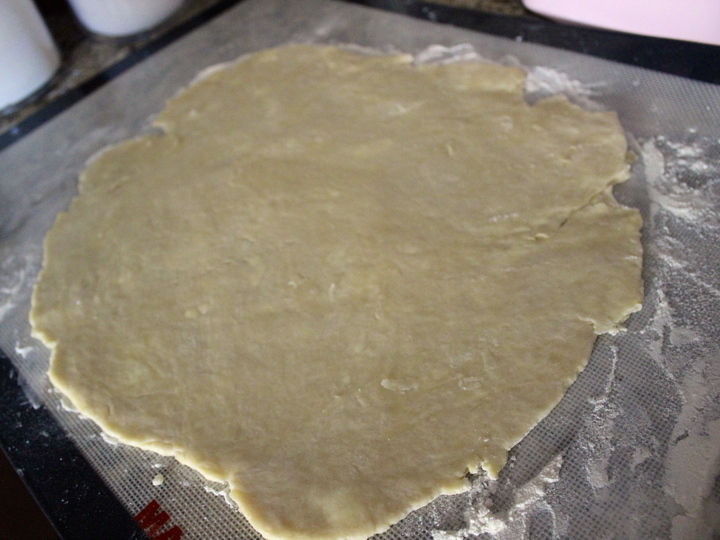
Now we get to my favorite thing about this pie crust: It’s forgiving. In general, you should try to avoid rolling and re-rolling pie crust dough, but I always seem to have issues getting the right shape and thickness. I have had to smoosh up and re-roll this more than once, and it still ended up flaky after baking.
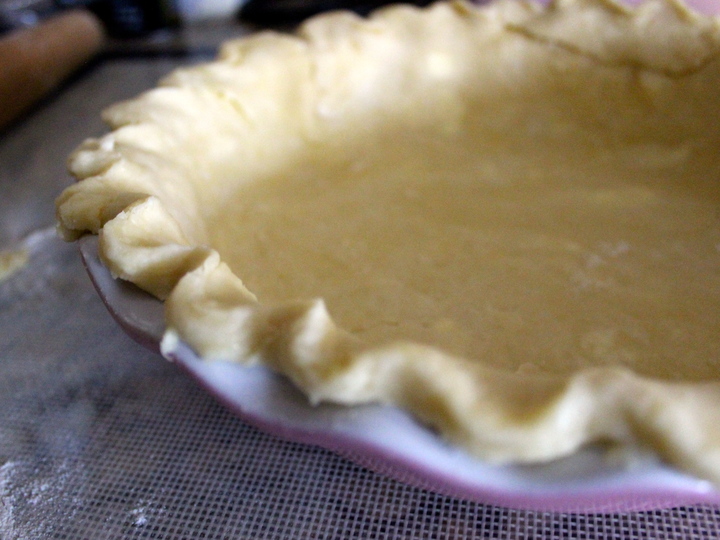
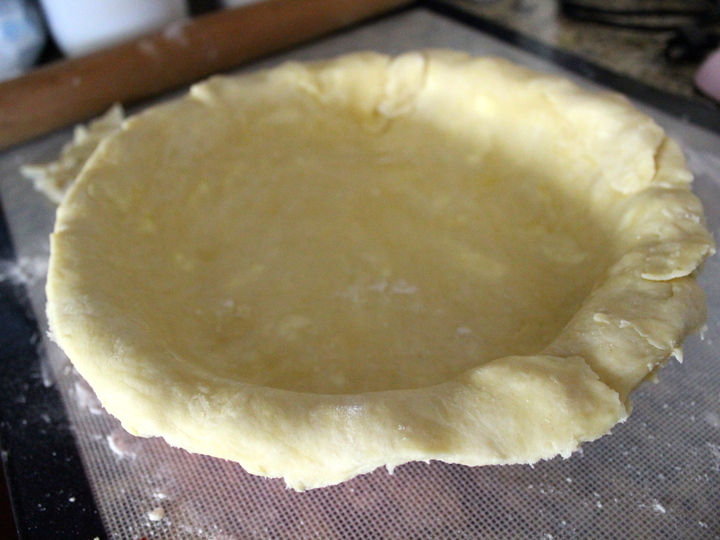
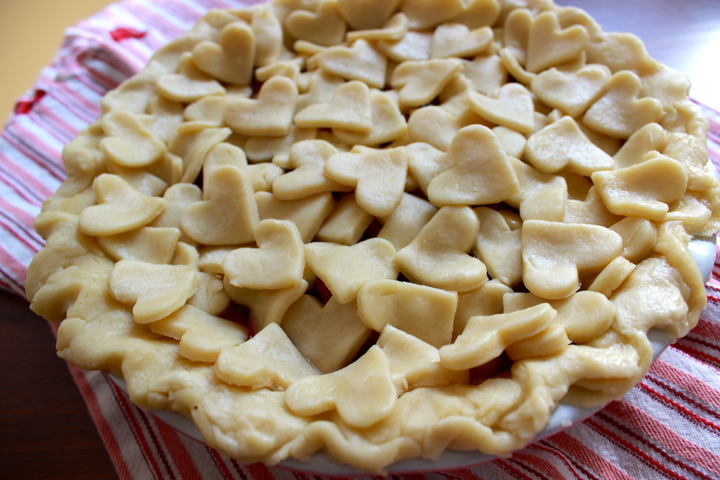
I have to admit that I’m not great at making the edges of my pie crust look pretty. Practice makes perfect, of course, but I tend to just press the edges down with a fork instead of crimping it (like above). I do think it’s nice if the crust doesn’t look TOO perfect, since you want people to realize it’s homemade. But if you want to make yours look nicer than mine, check out these options from Better Homes and Gardens. For double crusts, I like to use a small cookie cutter to cut out a ton of tiny hearts or stars and use them to pretty much cover the filling. That has the added bonus of distracting people from dodgy edges.
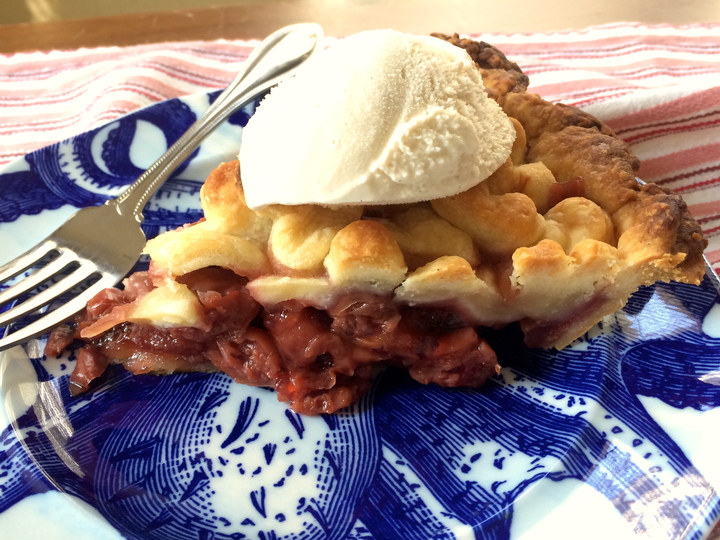
But please remember to put a pie guard or aluminum foil around the edges of the pie while you’re baking it, to keep them from getting too dark. I forgot the last two times I baked a pie, and ended up with edges that were black in spots. As Alice says, “I give myself very good advice, but I very seldom follow it.”
Pie crust
(Adapted from Food52, makes 1 pie crust. Double for a double-crust pie)
1 1/4 cup unbleached all-purpose flour
1/2 teaspoon salt
1 tablespoon sugar
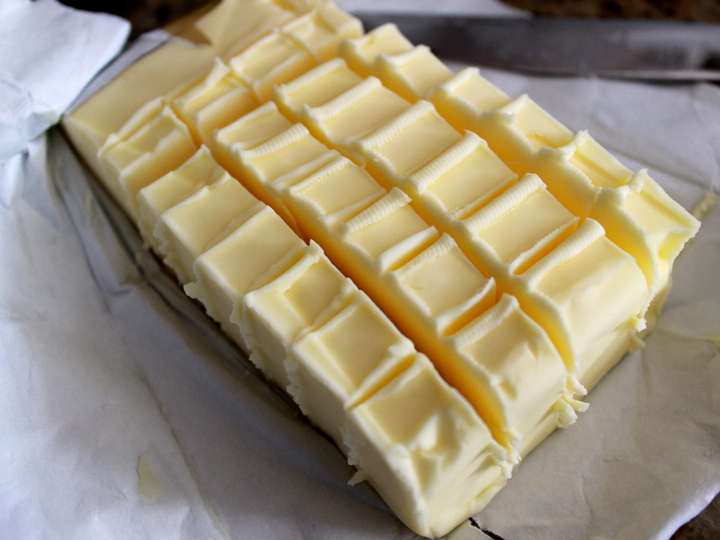
6 tablespoons cold unsalted butter, cut into small slice or pieces (I’ve found it’s easier to cut when it’s cold, then put back in the fridge or freezer to firm up more)
1/4 cup shortening or lard, cold, cut into pieces
2 tablespoons cold vodka
2 tablespoons ice water
BY HAND:
Whisk flour, salt and sugar together in a large bowl. Add the pieces of butter and shortening and combine (using a pastry blender or just rubbing it into the flour with your fingers) until there is no flour left uncoated and there are a few pea-sized pieces of butter remaining. Drizzle the vodka and water over the mixture and use your hands or a spatula to mix the dough until it sticks together in a ball. It might be a little sticky or it might not — don’t freak out. If it is super dry and there is still a lot of flour left that won’t stick to the ball, add a tiny bit more water so it all sticks.
Wrap the dough ball in plastic wrap and press down to flatten it a bit. Chill it in the refrigerator for anywhere from 45 minutes to 2 days.
BY FOOD PROCESSOR:
Measure 3/4 cups flour into the bowl of the food processor, along with the salt and sugar. Pulse a few times, until everything is combined. Add the butter and shortening and turn the processor on for a few seconds, until it starts clumping a bit and looks like cottage cheese curds with just a few very small pieces of butter remaining. All the flour should be coated.
Scrape the sides and bottom of the processor bowl with a rubber spatula, then add the other 1/2 cup flour. Pulse 4 to 6 times, until everything seems evenly distributed. The mixture should not be in a big ball yet.
Dump the mixture into a large or medium bowl and drizzle the vodka and water over the top. Use the rubber spatula to mix the liquids in — try a folding motion — until the dough all clumps together and is kind of sticky. (It may seem too wet, but it’s probably not). Form the dough into a ball, if it isn’t in one already, press down to flatten it slightly and wrap it in plastic wrap. Chill it in the refrigerator for anywhere from 45 minutes to 2 days.
EITHER METHOD:
Before you roll out the dough for the pie, make sure you have an oven rack on the lowest position. Put a rimmed baking sheet on that rack and preheat the oven to 425 degrees.
Dust a clean surface and rolling pin with flour and roll out the pie crust into about a 12-inch circle. Transfer the crust to the pie plate either by loosely rolling it around the rolling pin and then unrolling it over the pie plate, or by carefully folding it into quarters and then unfolding it over the plate. Place it in the plate carefully, so it fills the pie plate and hangs over the edge about an inch (or more) without being stretched anywhere (otherwise it will shrink in the oven). Trim the overhang so there is only a 1/2 inch past the edge of the plate, then fold it under itself and use your fingers to make a scalloped/ruffled edge, or press the edges down with a fork for a decorative edge.
Now you’re ready to put the pie filling into the crust. Follow the directions for the pie you’re making, but before you put the pie in the oven, put aluminum foil or a pie shield over the edges of the pie to protect them from burning. Bake the pie on the bottom rack on the pre-heated baking sheet for the first 10-15 minutes of cooking time (you may need to turn down the oven temperature, too, depending on the pie recipe). Then you can move the pie up to the middle or top of the oven.
Remove the pie shield or fold back the foil for the last 10 minutes of cooking time.
One thought on “How to make pie crust like a boss”
Comments are closed.