I know: Making your own marshmallows seems like something that only Martha Stewart, a Brooklyn hipster or someone whose blog is named “Marshmallows and Margaritas” would attempt. Who has time for that?
But I promise you — cross my heart and hope to die, stick a needle in my eye — that they are not that challenging. And they only require about 20 minutes of your time at the beginning and maybe 10 more minutes later; less time and effort than making cupcakes, and they are so delicious and impressive that all your friends will be in awe of you.
You do need to have a stand mixer, because I am guessing it actually IS a royal pain without one (and probably impossible without assistance). There also is a candy thermometer involved, but you can get one for about $5 at the grocery store, and if you’ve ever used any kind of thermometer, you should be able to operate it.
So, let’s do this.

This particular marshmallow adventure begins, as many delicious things do, with toasted coconut. I used unsweetened coconut — which is available at healthy and/or fancy food stores if they don’t have it at your normal grocery store — and toasted the whole bag on a cookie sheet. You don’t really need sweetened, since the marshmallows are almost all sugar (yay!).
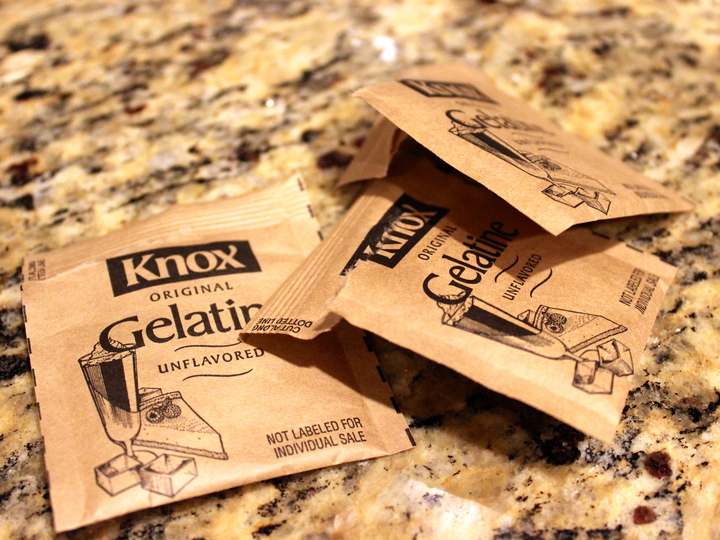
You’ll also need unflavored gelatin, which comes in a tiny box near the Jell-O. (There are also sheets of gelatin available in specialty stores, and those are apparently better, but I’ve never tried them.)
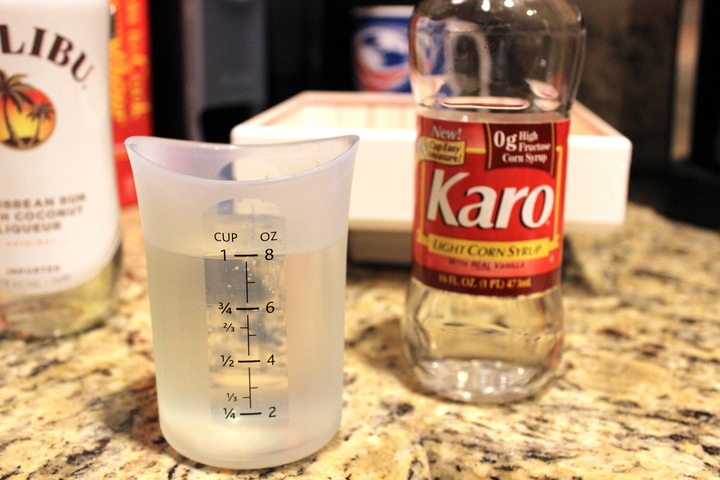
You will also need light corn syrup, which is different than high-fructose corn syrup. It is usually near the pancake syrup in the store. Make sure you get the light/clear kind, unless you want your marshmallows to be brown and taste like molasses (possibly not a bad thing, but not what we’re going for here).
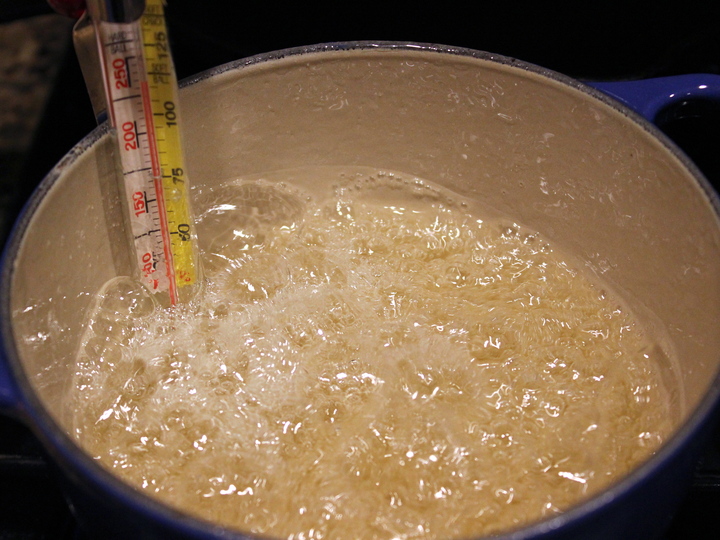

Yes, that is boiling sugar syrup and yes, it looks kind of terrifying. But stick with me! If you can boil water, you can boil sugar water. You aren’t even supposed to stir it once the sugar is dissolved and you turn the heat up high (although I did, because one of the recipes I was using wasn’t very descriptive, so I can attest that no no harm will befall your marshmallows if you do stir it a little). All you really have to do is turn the heat on and watch the thermometer. And, if it starts boiling over, just turn the heat down.
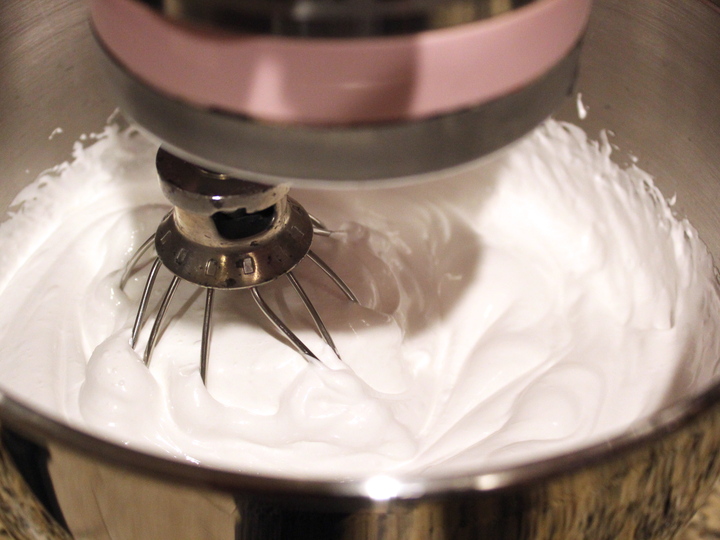

The photos above are where the real magic happens — you turn on the mixer and slowly (and carefully, please, because it’s hot) pour the sugar syrup down the side of the bowl into the gelatin mixture. Then you keep the mixer on until the whisk turns it into delicious marshmallowy goodness, while you stand there and watch.

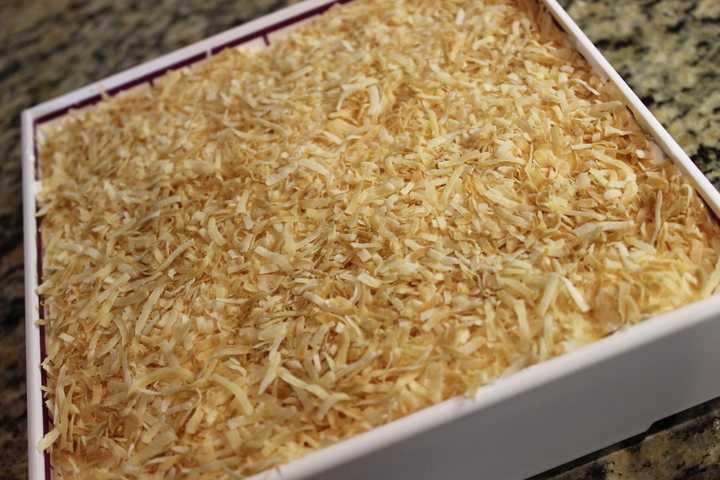
Now comes the part that can get a little messy — you cover the bottom of the pan in toasted coconut, then scoop and spread the marshmallow mixture into the pan. Make sure you have a small cup or bowl of water nearby, because if you dip your fingers in water it is really easy (and not NEARLY as sticky) to smooth out the marshmallow goo and/or get it to behave. Then you cover the top in more toasted coconut and set it somewhere for timeout.

Once it’s firmed up, you can use a pizza cutter (or even cookie cutters, if you’re so inclined) to cut the marshmallows into more portable sizes. I used this cool collapsible marshmallow-making pan my mother-in-law got me for my birthday, but you can obviously use a regular cake/brownie pan.
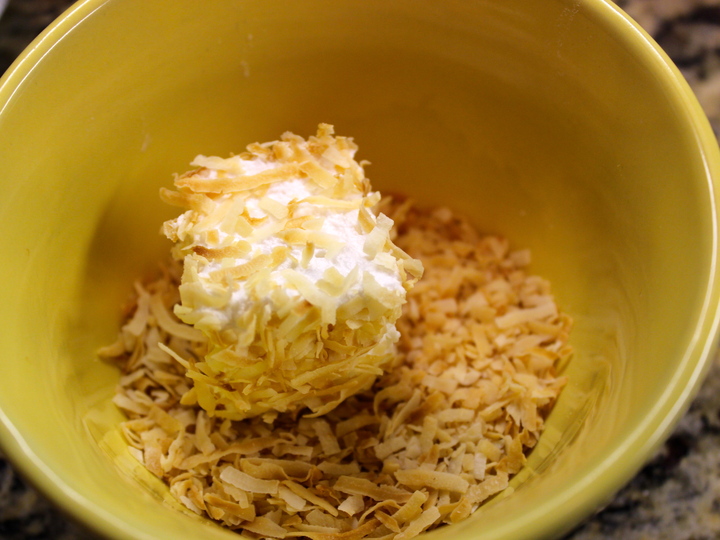
Roll the marshmallows around in the rest of the toasted coconut so they aren’t super sticky on the outside (if you hate and/or are allergic to coconut, you can use a mixture of powdered sugar and corn starch instead — and you might prefer this recipe). And then enjoy the fluffy, coconutty, marshmallowy goodness you’ve created!
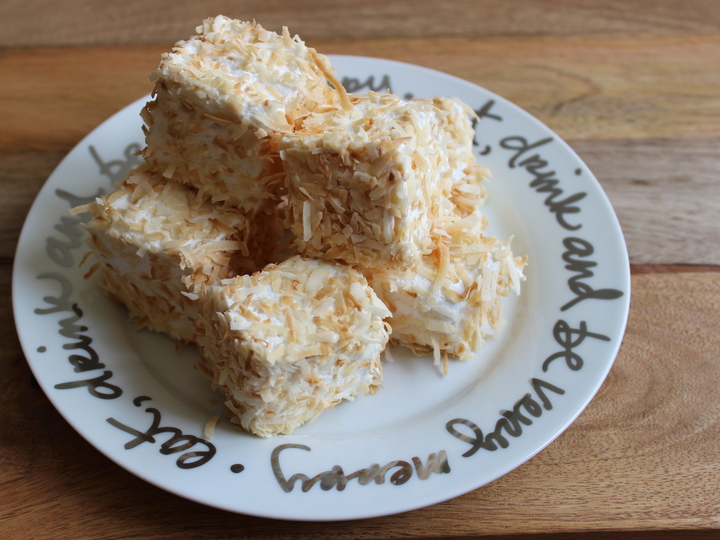
Toasted coconut marshmallows (Adapted from Barefoot Contessa and Gourmet, makes 36 2-inch marshmallows)
2 cups unsweetened dry coconut
1/2 cup cold water (plus another 1/2 cup for later, so 1 cup total)
3 packages unflavored gelatin
1 1/2 cups sugar
1 cup light corn syrup
2 teaspoons real vanilla extract
3 teaspoons coconut rum (or 1/2 teaspoon coconut extract)
Preheat the oven to 350F and spread the coconut out on a rimmed cookie sheet. Once oven is warm, put the cookie sheet in and toast the coconut until most of it is golden brown (7 to 10 minutes), checking it and stirring occasionally to make sure it doesn’t burn.
Take the coconut out of the oven and set aside to cool. Turn the oven off.
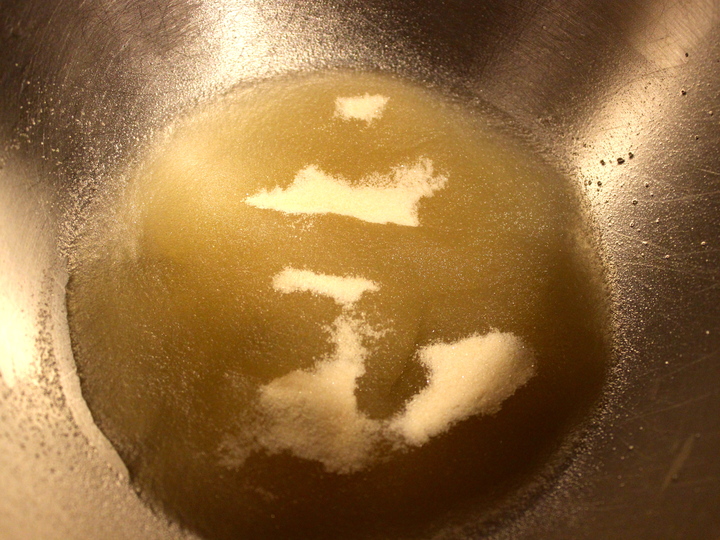
Pour 1/2 cup cold water into the bowl of a stand mixer fitted with the whisk attachment. Sprinkle the gelatin on to the water and let it soften (it’s actually called blooming).
Once the toasted coconut has cooled, use it to cover the bottom of a 9×9-inch non-metal baking dish (a 9×12-inch dish will work but will make flatter marshmallows and you may need more toasted coconut).
Pour the sugar, corn syrup and additional 1/2 cup water into a medium pot and place it over medium heat. Stir the mixture until the sugar seems dissolved, then turn the heat up to high and stop stirring. Place a candy thermometer in the mixture (if you have the kind with a clip) and cook the mixture until it reaches 240F, the “soft ball” stage. Stop laughing. Also, if the mixture seems like it’s going to boil over, turn the heat down for a minute and then turn it back up once it’s settled down a bit.
When the sugar syrup gets to 240F, take it off the heat until it stops bubbling. Turn the stand mixer on low speed (the gelatin should be hanging out in the bowl already) and slowly (and carefully) pour the hot sugar mixture down the side of the bowl into the gelatin (while the mixer is going).
Once all the sugar syrup is in the mixing bowl, turn the mixer speed up to high (or medium-high) and let it whisk until the whole mixture gets very thick and fluffy (it will look like marshmallow fluff), about 15 minutes. Add in the vanilla and coconut rum (or extract) and whip another minute or so, until well combined.
Put a small bowl or cup of water nearby. Use a rubber spatula to scoop or spoon the mixture into the pan you prepared with the toasted coconut, then wet your fingers and use them to smooth it out. You can also use your wet fingers to help get extra marshmallow fluff off the spatula, if necessary.
Sprinkle more (but not all) of the toasted coconut over the marshmallow in the pan, to cover it, and press down lightly. Put the rest of the toasted coconut in an airtight container or plastic bag, and set the marshmallow pan aside, uncovered, in a room temperature dry place to set for 6 or more hours.
Once the marshmallow has set (it may still be sticky, but it should pull away from the pan relatively easily and be the consistency of… marshmallows), cut it into pieces using a lightly oiled pizza cutter, knife or cookie cutters. Place the remaining toasted coconut in a small bowl and roll the cut marshmallows around in it to cover.
Store in an air-tight container at room temperature.
One thought on “Toasted coconut marshmallows”
Comments are closed.