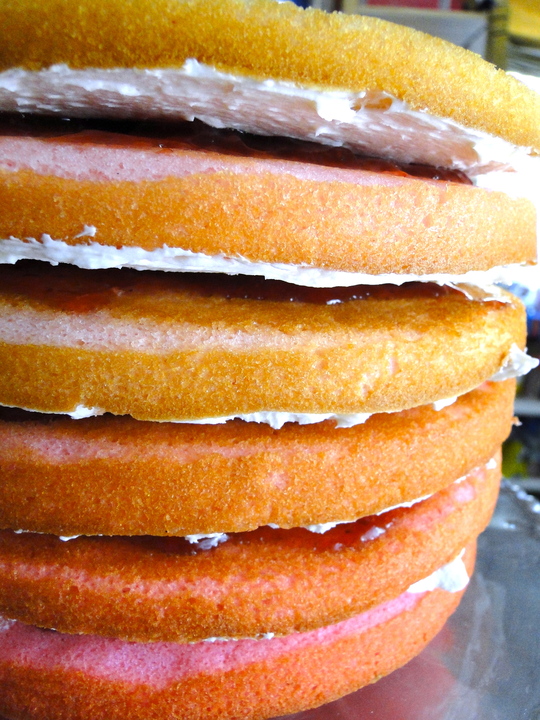
You may have noticed that I like pink. So it stands to reason I would want to make a super pink cake for my party. I used a Sweetapolita recipe, but I split it into six equal layers and dyed each a bit pinker than the last.


Since the cake and frosting were both vanilla, I decided to put strawberry preserves between the layers to give it a little more flavor.

I baked the cake layers the night before, wrapped them in plastic and froze them. It’s actually much easier than to assemble the cake that way.


The only problem is that I didn’t keep track of the shades of color very well, so I switched layer No. 2 and layer No. 3. Oopsie.


I know this probably looks really difficult, but it’s actually not. Seriously. And you can do the exact same thing with a box mix (or your own favorite cake recipe) if you’re scared of the recipe below. Just make sure to use two boxes of cake mix (or a three-layer cake recipe), so you have enough cake batter for several layers.

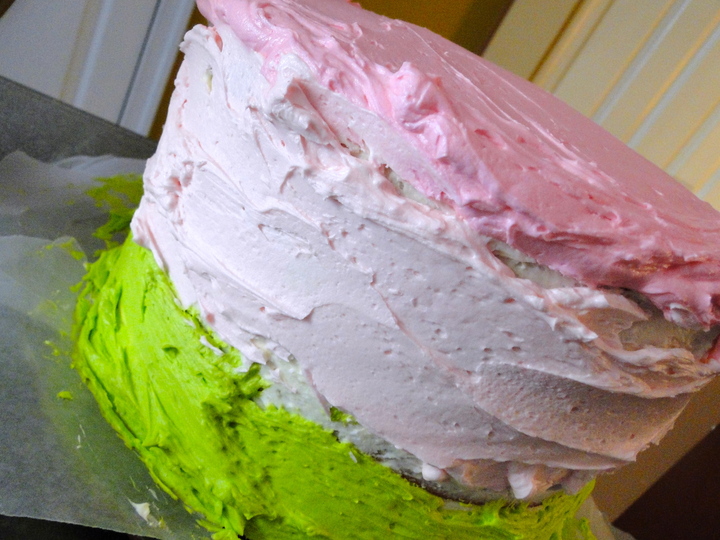
You obviously could also just use a single color of frosting. If you do want to do something akin to this frosting look, though, it’s not crazy hard– I used this video tutorial. You start with what’s called a “crumb coat” — a thin layer of frosting to seal in the crumbs (pictured above). Then you swirl it up.

I am not exactly a champion cake decorator, but I’ve found that a healthy dose of sprinkles on top works wonders.

I think this would have looked better if I put the green on top and the darker pink on the bottom, instead of vice versa, but oh well. It still looked pretty cool to me.

The strawberry preserves were definitely a good call. If only I had paid a little more attention to the color of the layers…

Pink ombre cake (Recipe adapted from Sweetapolita, makes an 8- or 9-inch round six-layer cake)
1 ½ cup whole milk
7 large egg whites
1 whole egg
1 tablespoon real vanilla extract
3 ¾ cake flour
2 ¼ cups sugar
1 ¾ tablespoons baking powder
1 teaspoon salt
1 ½ sticks (12 tablespoons) unsalted butter (plus extra for buttering pans)
6 tablespoons shortening
pink gel food coloring (liquid food coloring is OK, but you will have to use more)
1-2 jars strawberry preserves
frosting (recipe below)
Measure milk and separate eggs for egg whites. Let milk, egg whites, the one whole egg and the butter sit out on the counter for about an hour.
While you’re waiting for that, butter three 8- or 9-inch round cake pans (I used 9-inch). Cut parchment paper into circles that fit into the bottom of the cake pans and butter the paper. Sift the cake flour.
Preheat oven to 350F.
In a medium bowl or large measuring cup, combine ½ cup of the milk with the egg whites, whole egg and vanilla. Stir together and then set aside.
If you have a kitchen scale, weigh your mixing bowl and write down the weight for later. Place the sifted cake flour in the bowl of a stand mixer fitted with a paddle attachment (or in a very large mixing bowl) and add the sugar, baking powder and salt. Stir together on low speed (you can use a spoon to stir everything together if you’re using a hand-held mixer).
Cut the butter and shortening into pieces, then add to the flour mixture. Blend everything on low speed for about 30 seconds, then pour in the rest of the milk (1 cup) and mix for a few seconds. Increase to medium speed and mix for about a minute (not more than 90 seconds).
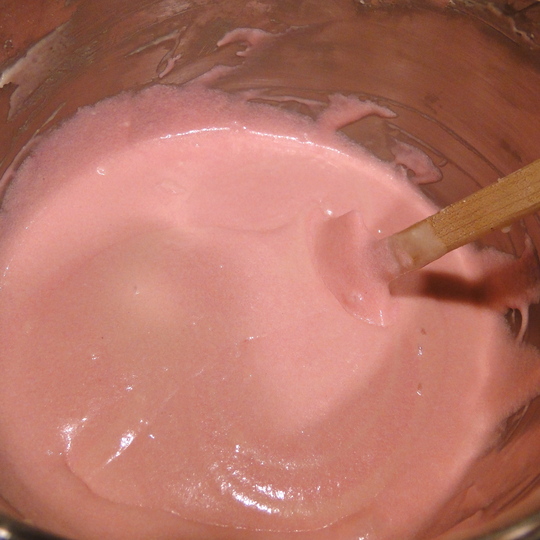
Use a spatula to scrape the batter off the sides of the bowl into the center, then add about 1/3 of the egg/milk mixture. Beat for about 20 seconds to combine, then add another 1/3, beat for another 20 seconds and add the last 1/3. Add one large drop of pink gel food coloring and beat just until the color looks even.
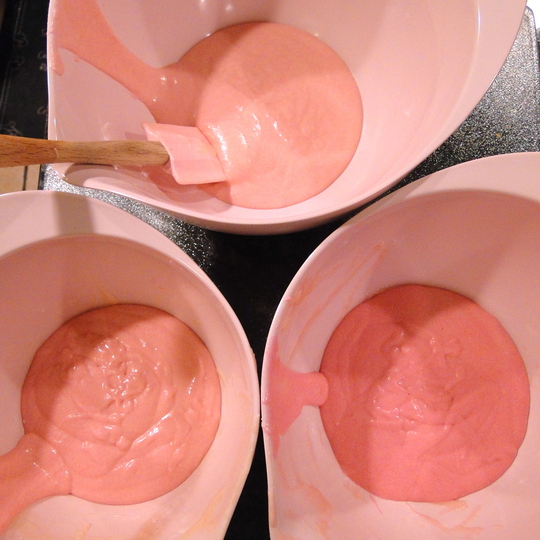
Pour 1/6 of the batter into one of the prepared pans. It’s easiest to measure out even layers if you use a food scale. After pouring batter into the first pan, add another large drop of food coloring to the batter and stir to combine.
Pour the same amount of the slightly darker batter into the second prepared pan. Continue adding about 1 large drop of gel food coloring (or a few drops of liquid food coloring) to the batter after each pour. The goal is to end with six evenly sized layers, each a bit darker than the one before.
Bake the cake layers about 15 minutes, or until a toothpick inserted into the center of each comes out clean. (I have three cake pans, so I baked three layers, then cut out new parchment paper circles, buttered them, and baked the remaining three)
Allow the cake layers to sit in the pans for about 10 minutes, then flip onto wire racks to cool. Once they’re cooled, wrap well in plastic wrap and place on a flat surface in the freezer for at least 30 minutes (I set a clean baking sheet in there to set the cake layers on. Once they were reasonably frozen/firm, I stacked some of the layers on top of each other)
When you’re ready to assemble the cake, make the frosting.
Frosting
6 sticks (3 cups) unsalted butter (allow it to sit out at room temperature for an hour first)
8 or more cups powdered (confectioners) sugar
4 tablespoons milk
1 1/2 to 2 tablespoons real vanilla extract
food coloring
assorted sprinkles, for decorating
Place all the butter in the bowl of a stand mixer fitted with the paddle attachment (you can make this in a regular mixing bowl with a hand-held mixer, but it might be easier if you make half a recipe and then the other half).
Turn the mixer on medium to medium-high and beat the butter for several minutes, until it is very creamy and looks almost white. (I never sift my powdered sugar, but you can if you’d like your frosting to be extra smooth.) Add the milk, 1 1/2 tablespoons vanilla and about a cup of the powdered sugar and beat on low to combine. Continue adding the powdered sugar about a cup at a time, beating on low after each addition to combine.
Once you’ve added about 6 cups of powdered sugar, beat the whole mixture on medium for about a minute, until the mixture is smooth and fluffy. Taste the frosting and add additional powdered sugar, if necessary. Once the frosting is the flavor you’d like, add additional milk, if needed for consistency.
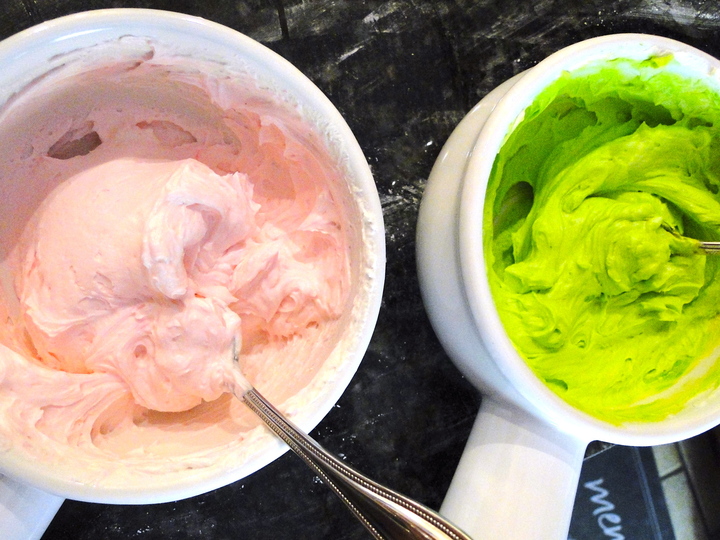
Scrape down the sides of the bowl with a silicone spatula, then beat the frosting again for a minute or two to make sure it’s extra fluffy. If you’re using just one color of frosting, go ahead and add the food coloring now (otherwise, use white frosting for the assembly and crumb coat and color the rest of the frosting later).
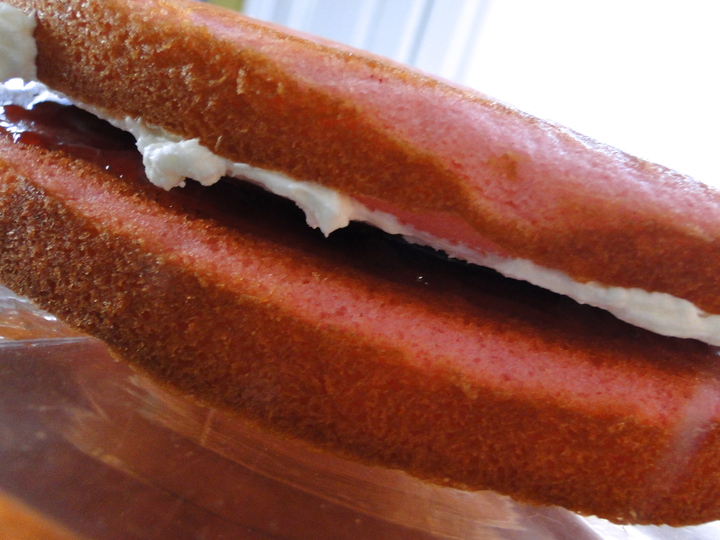
To assemble: Take the cake layers out of the freezer and arrange from lightest to darkest (but assemble the cake while they’re still frozen/firm). Place the darkest cake layer, rounded side down, on a cake plate or cardboard cake circle. Spread a thin layer of strawberry preserves on top, leaving a little bit of room around the edges bare.
Pick up the second-darkest layer and unwrap enough that the rounded side is accessible. Spread a thin layer of the frosting on the rounded side, spreading all the way to the edges, and then place the layer, frosted side down, on top of the first layer (there should be strawberry and frosting between each layer).
Spread a thin layer of frosting on the top/flat side of that layer, then unwrap the next darkest layer and spread frosting on the rounded side of that. Continue until the lightest layer is on top of the cake. Do not spread strawberry preserves on top of the cake.
Using a butter knife or frosting spatula, spread a thin layer of frosting on the cake, filling in some of the gaps between the layers. It doesn’t have to look good, but there should be at least a little frosting covering all of the cake. Stick the cake in the refrigerator for at least 30 minutes (you can use that time to clean up the kitchen a bit and color the remaining frosting, if you want).
Remove cake from fridge and put the final coat of frosting on it (to do the swirl technique I used, watch this video). Top with assorted sprinkles and store in the refrigerator (covered, if you can find something big enough to cover it). Let sit at room temperature for at least an hour before serving.